This post is the third part of our series on building a craft beer bar for your wedding or event. If you haven’t seen the other posts, you can check out parts 1 and 2 at the links below:
- Part 1: Building a Craft Beer Bar for Weddings
- Part 2: Building a Craft Beer Bar for Weddings: Designing and Framing
Once we had decided on the design and then built the frame, the next step was to get our hands on enough reclaimed wood to cover the frame. I’ve seen many bars and restaurants that have used reclaimed wood from barns or old homes to create countertops or table tops. We weren’t lucky enough to have such wood at our disposal, but we did have some nicely worn shipping pallets and were also able to get a couple extras from Good Obsessions.
Before you start on this project, let me just throw this disclaimer out there. Getting some old shipping pallets or other used wood might be fairly easy depending on where you live, but in the case of shipping pallets, taking them apart and removing all of the nails, staples, screws and other fasteners can certainly be a chore.
Prepping the Reclaimed Wood
We had 2 large pallets that we would be using to cover the frame of our craft beer bar. We used the following tools to deconstruct the old shipping pallets:
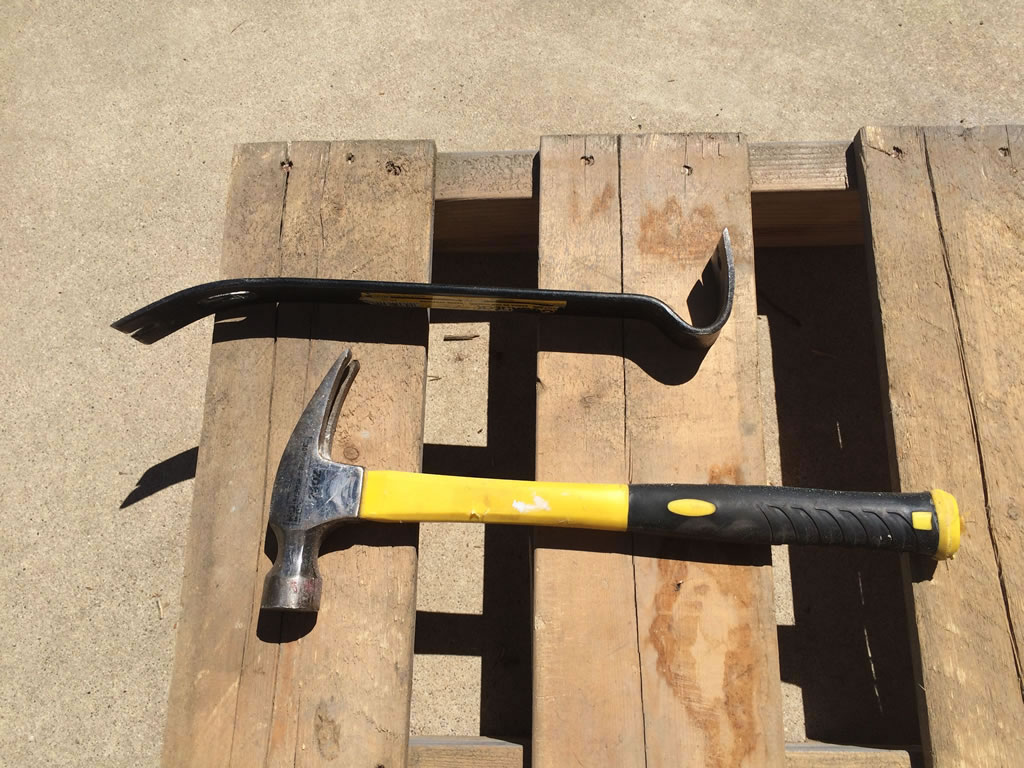
With the tools in hand, you’re ready to start tearing the pallets apart. For our project, we’ll just be using the top and bottom deckboards of the pallets to create a surface for our craft beer bar.
Use the prybar to pull all of the deckboards from the stringers. Set each board aside as it is removed.
Once the pallet is fully dismantled, use your hammer to remove any nails, screws, staples or other fasteners. Some nails can be removed using the hammer claw, others will need to be tapped out from the backside of the board.
Depending on the type of pallet, you can anticipate spending 15 minutes to 1 hour to dismantle them and remove all the nails. We had a couple large pallets that our paving stones were delivered on – these ones were put together significantly better than some of the other pallets we took apart.
 After you have taken apart enough pallets to cover your frame, you’ll need to take some measurements and make some cuts in order to get the fascia boards to be the correct size. The simplest way to do this is to stand your boards next to the wedding bar frame and mark the backside of them with a pencil.
Make sure the height of the board is not greater than the height of the bar frame counter top because a countertop still needs to be added to the bar. Cutting the boards too tall will cause the countertop to be uneven.![]()
 With all of your boards marked, it’s time to begin cutting. This is where a compound miter saw and a miter saw stand will really come in handy.
Once all boards are cut to length, you’ll be ready to start attaching the boards to the frame of the bar. This is when your bar will really begin to take shape.
Attach Your Reclaimed Wood to the Frame
 Not only is this where your bar begins to take shape, but this is also the part where you get to use a nail gun (if you have one). We used this nail gun and compressor combo from Porter Cable which was being offered at over 50% off at the time this was written. It is very easy to setup and use and makes the job of attaching the boards to the frame a breeze.
If you don’t have a nail gun, you can always go old school with a hammer and finishing nails, or even use screws to attach the boards. Whatever you choose, you’ll get the same end result – a bar that looks weathered and rustic.
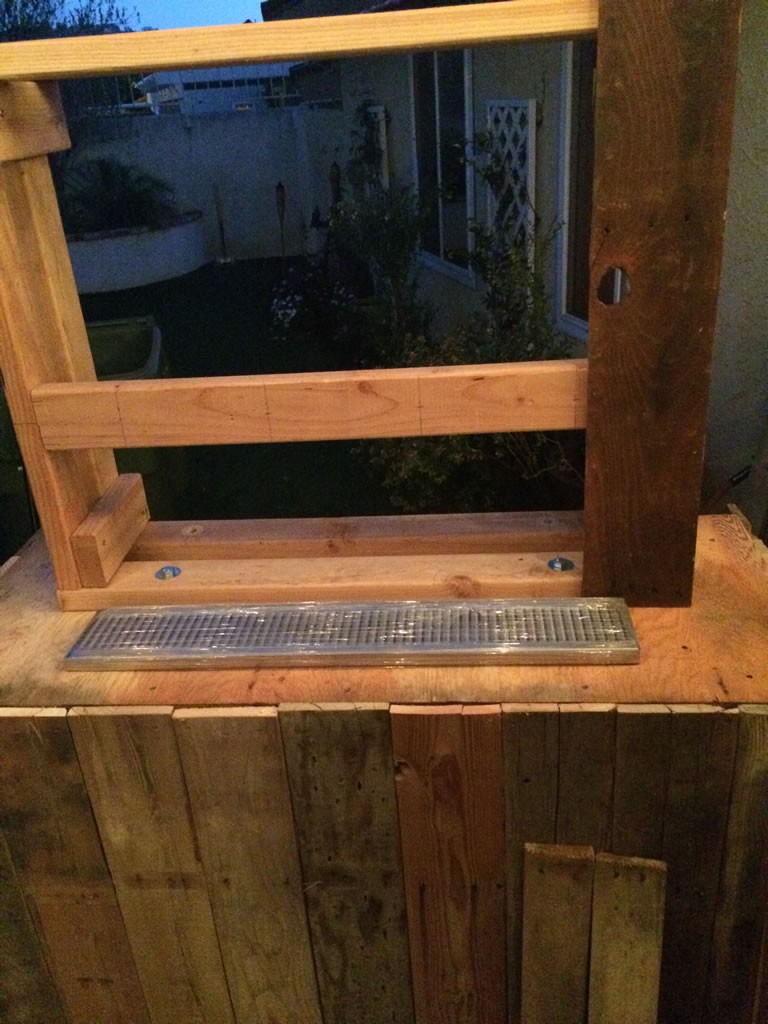
Once you’ve covered the front and sides of the bottom half of the frame with your boards, you’re ready to attach the beer tower and drip tray and begin mapping out how you want your countertop laid out. When laying out the countertop, you’ll have two options:
- Lay the boards front to back (vertically)
- Lay the boards left to right (horizontally)
 We chose to lay our boards horizontally on this build, primarily because we wanted to have a single, solid board across the front of the countertop.
Begin by re-attaching your beer tower frame (if you chose to make it detachable). With the beer tower frame attached, get a couple boards and use them to place your drip tray.
With the drip tray aligned, pencil in the area where it will fit.
Next, find the board that you want to use for the front of the countertop. Our alignment worked out perfectly. We had a large board from a paver pallet that was slightly wider than the bar and also hung over the front edge a bit when butted up against the drip tray. We tacked this board in with the nail gun and began working our way back.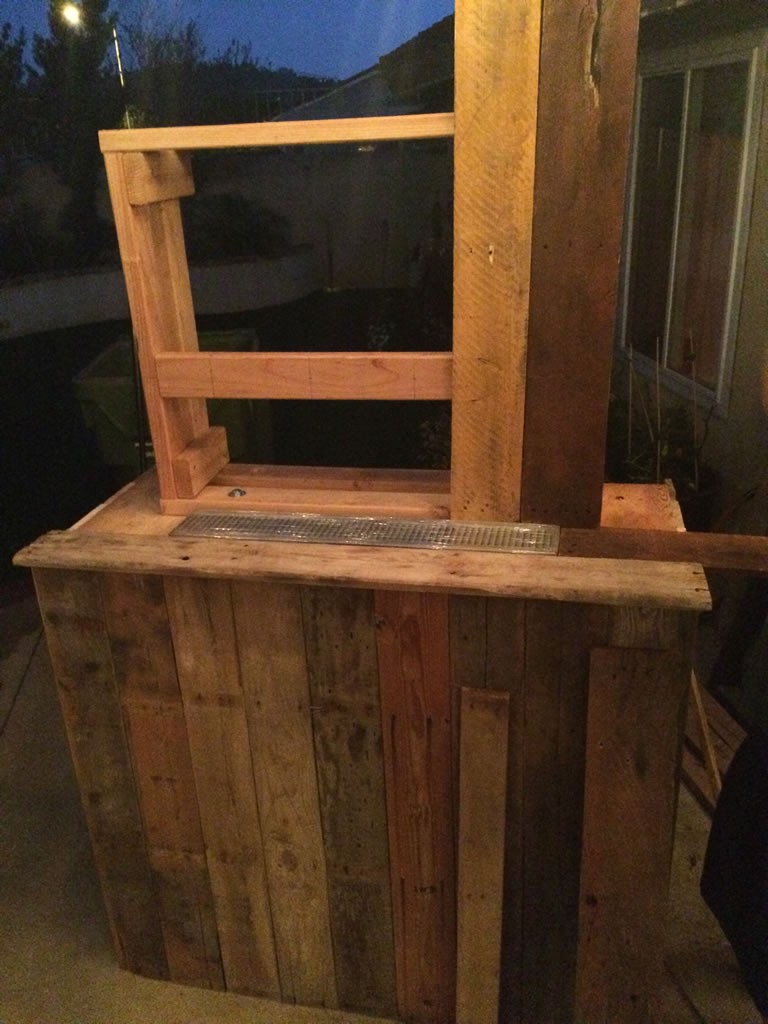
Select boards that will fit next to the drip tray and then mark them and cut them to length so that they align with the outer edge of the front most countertop board. Repeat this process on the left and right side and continue it all the way back until the entire countertop is covered.
Drill Guide Holes for the Beer Shanks
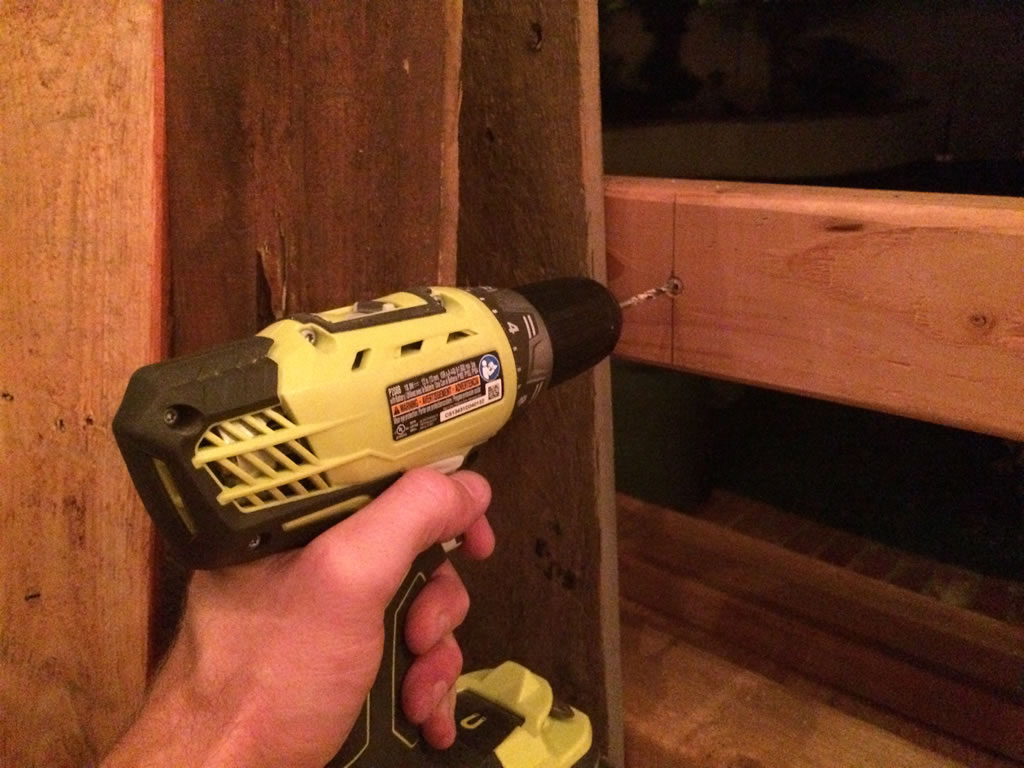 Before covering the beer tower frame with your remaining reclaimed wood, you’ll need to pre-drill some guide holes for the placement of your draft beer shanks. Begin by using a small drill bit (1/8″ should do) and drill out the center mark in the 2×4 for each of your beer shanks (in our case, there were 4 holes to be drilled).
Once the guide holes have been drilled, you’re safe to start covering the face of your beer tower with your reclaimed wood. Use the same process to mark the height and make the cuts that was used for the base of the bar.
Continue around the beer tower until it is completely covered.
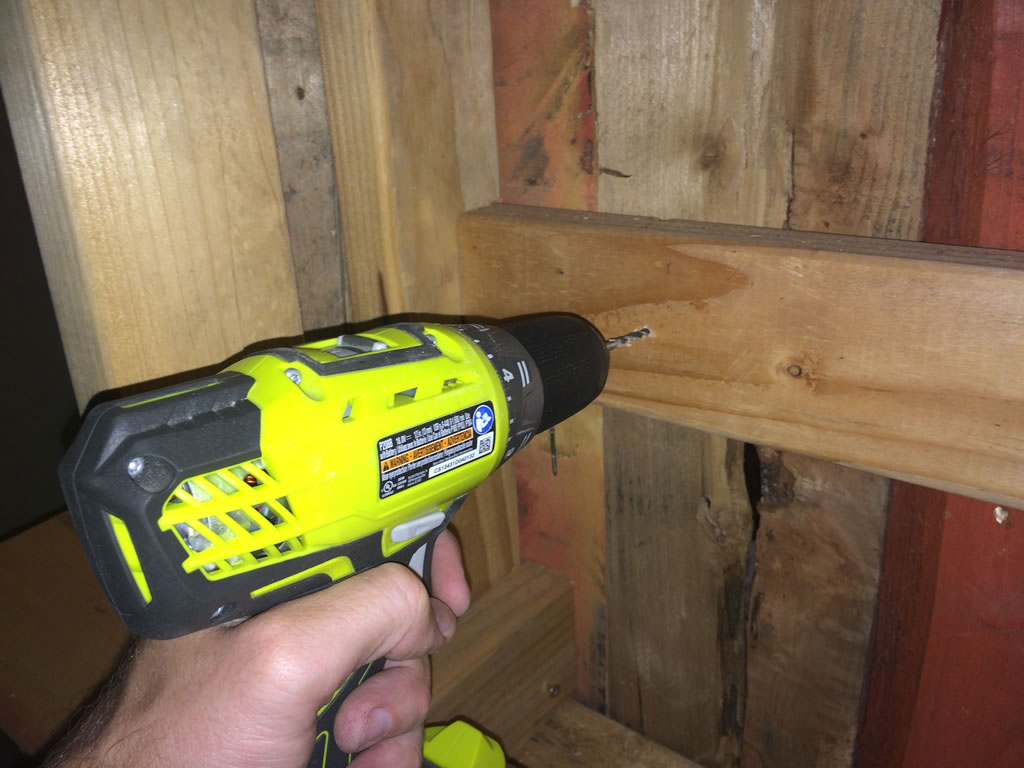
Prior to moving on to the next step, get your drill out and move around to the back of the bar. Using the same 1/8″ drill bit (or whatever size you used), place the bit into each pre-drilled hole and drill a hole through the wood facade that was attached.
Doing this will give you a guide mark on the front of the bar in which you can start drilling.
Drill Out Holes for Beer Shanks Using a Hole Saw
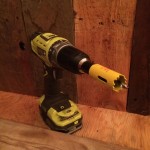
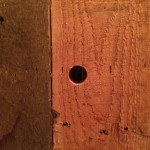
Now its time to core out the holes for the faucet shanks using a hole saw. Attach the hole saw to your drill and get ready to core out some wood.
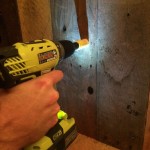
When using a hole saw, we recommend that you drill from each side. Begin on the front side of your bar and go about halfway through. This serves 2 purposes. 1 – it will prevent the wood from splintering if you were to just drill through from one side. 2 – it makes the job of removing the cored wood from the hole saw much easier.
As you drill, pay attention to the depth making sure you don’t go too far. Wood cores stuck in the hole saw are not fun to remove.
Final Thoughts and Remarks
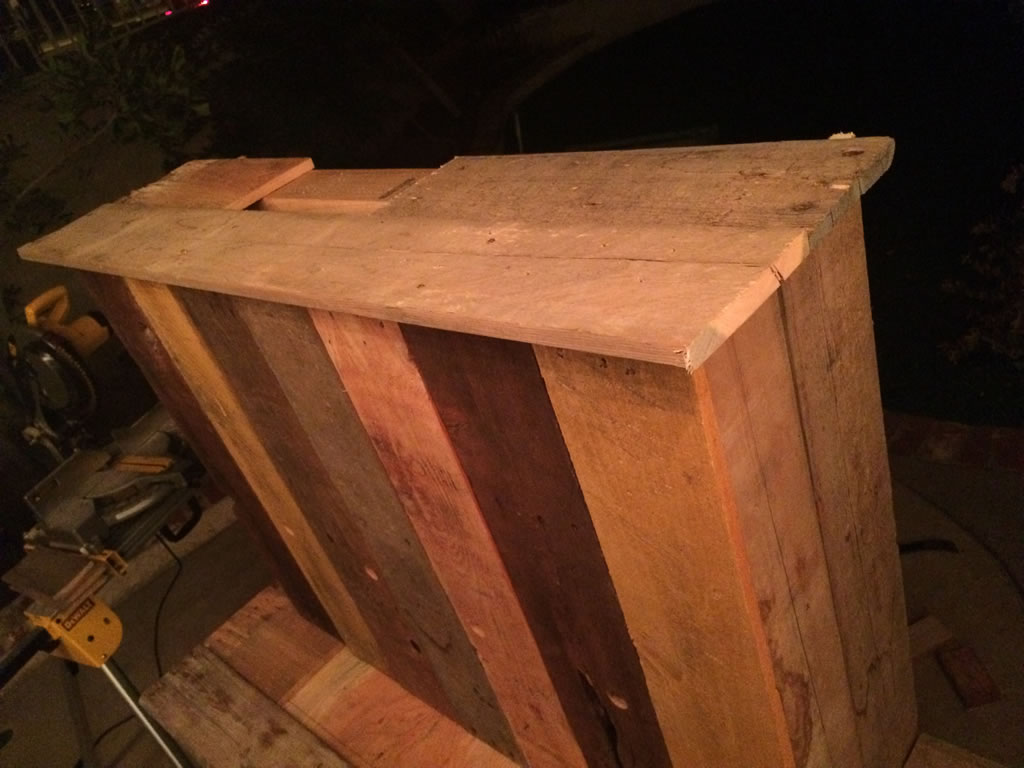 Once the holes have been cored out, you’re just about done with the wood portion of the build. Depending on the height of your bar, you can optionally add a top to the beer tower. Our bar was over 6 feet tall, so it wasn’t necessary, but we added finishing pieces around the edges anyways. Due to the height of the bar, we left a space in the center back that was unfinished.
With the bar nearly assembled, one thing that I noticed was that moving it would be a bit of hassle. After all, this is unfinished wood that we were using. Making minor adjustments to the positioning of the bar during the build process resulted in a couple nice splinters. Which resulted in a couple different ideas for handles which will be discussed in a later post. Most likely following the installation of the draft system.
Until then, keep building, keep beering.![]()

Leave a Reply