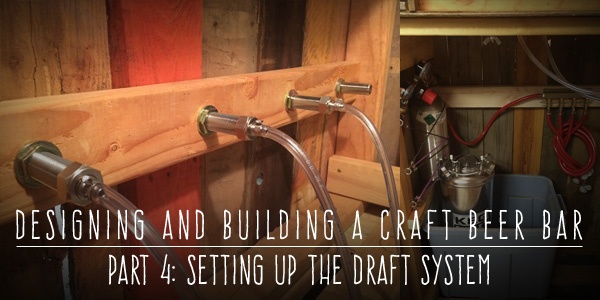
This is the fourth post in our multi-part series on building a craft beer bar for your wedding or event. If you haven’t seen the other posts, you can check them out at the links below:
- Part 1: Building a Craft Beer Bar for Weddings
- Part 2: Building a Craft Beer Bar for Weddings: Designing and Framing
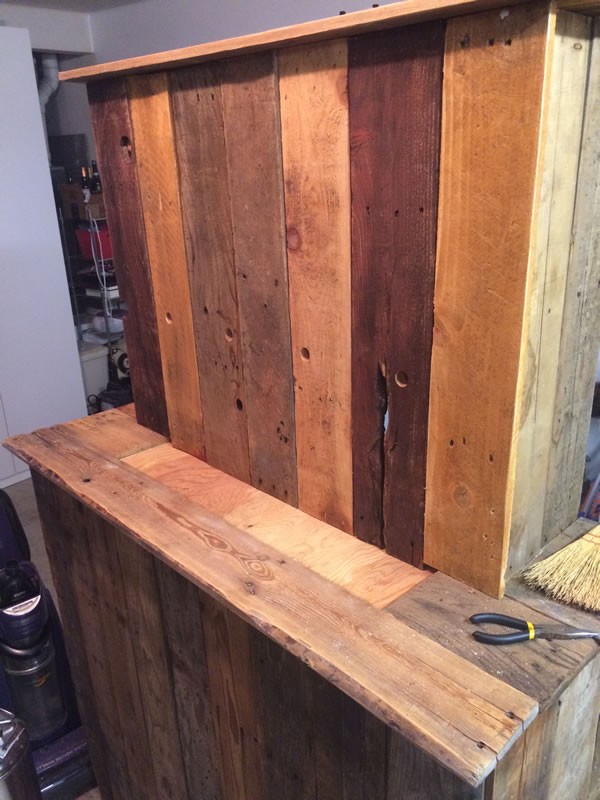
- Part 3: Building a Craft Beer Bar for Weddings: Covering in Reclaimed Wood
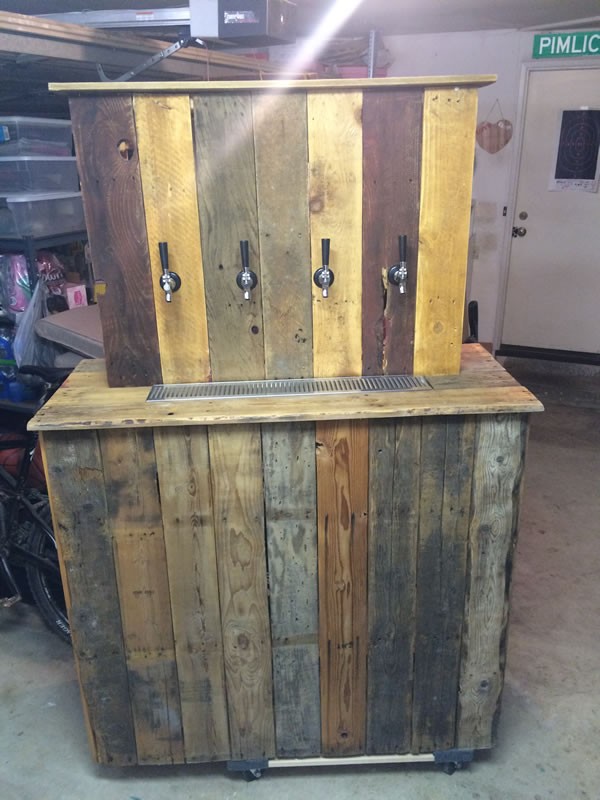
Now that we have our bar built, it’s time to begin assembling what is arguably the most critical part – the draft system.
Hopefully at this point, you have an idea of how many taps you want and the type of beer you’ll be serving because this will all factor into the equipment that you’ll need to buy.
If you’ll be serving from commercial (brewery) kegs, you’ll need sanke couplers – make sure you get the right style coupler for the brand(s) of beer that you’ll be serving. If you’re not sure what type of coupler you’ll need, you can check out our chart about which style coupler will fit my keg. If you’ll be serving Guinness or other stouts alongside your beer, you’ll also need a nitrogen setup and stout faucet. Since we were going to be serving homebrewed beer from our bar, we used this 4 tap homebrew keg kit along with 4 ball lock corny kegs.
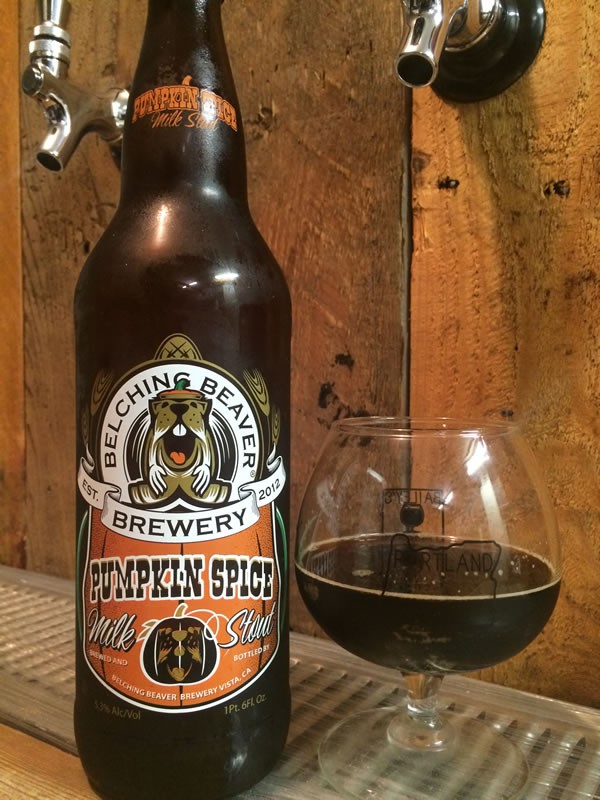
The great thing about using the setup that we chose to use is that cornelius kegs can be filled with any beverage that you’d like. You could easily serve coffee, tea, sparkling water or even cocktails on tap from your bar.
Back to the task at hand… Setting up the draft system.
Draft System Overview
 If you’ve never worked with a draft system, they’re relatively straightforward, but they can be a little intimidating at first. Here’s a brief overview of the components involved.
- CO2 Tank
This will keep your beer carbonated as well as provide pressure to “push” it from the keg to the faucet. CO2 tanks are under high pressure and should be treated with caution. - CO2 Regulator
The regulator allows you to adjust the pressure at which the beer is served. Typically between 4-8psi. It is a good idea to put a gauge cage around your regulator to help protect it during transport. - Gas Lines / Air Distributor
The air distributor will split the gas line from 1 to many. This will allow you to provide equal gas pressure to each of your kegs. - Kegs
This is where you’ll store your beer (or other beverage of choice). - Beverage Lines
Your beverage lines will attach to your keg and the beer shank at the back of your bar top. - Beer Faucets
Your beer faucets attach to the other side of the beer shank and allow you to start and stop the flow of beer. Be sure that when you attach your beverage and gas lines to the kegs that your faucets are in the closed position!
That’s the quick overview. We’ll discuss each component a little bit further with pictures, but that gives you a rough overview.
Setting Up the Draft System
One of the nice things about working with corny kegs and homebrew kegging systems is that the gas side is completely separate from the liquid side of the configuration. This means that you can setup the liquid side independently from the gas side (and vice versa).
We’ll start by outlining the installation of the gas system since once the faucets are installed, the bar will look complete. We might as well get the behind the scenes work done first.
Installing the Gas System
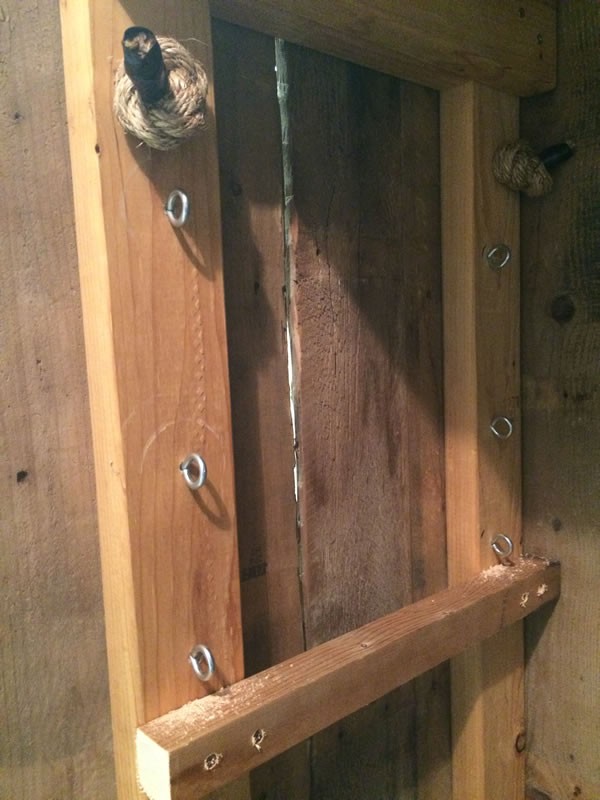
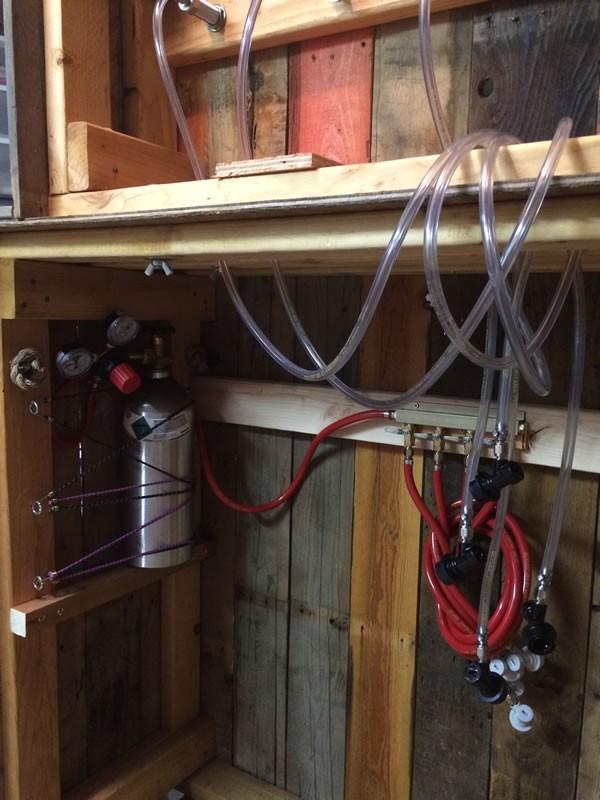
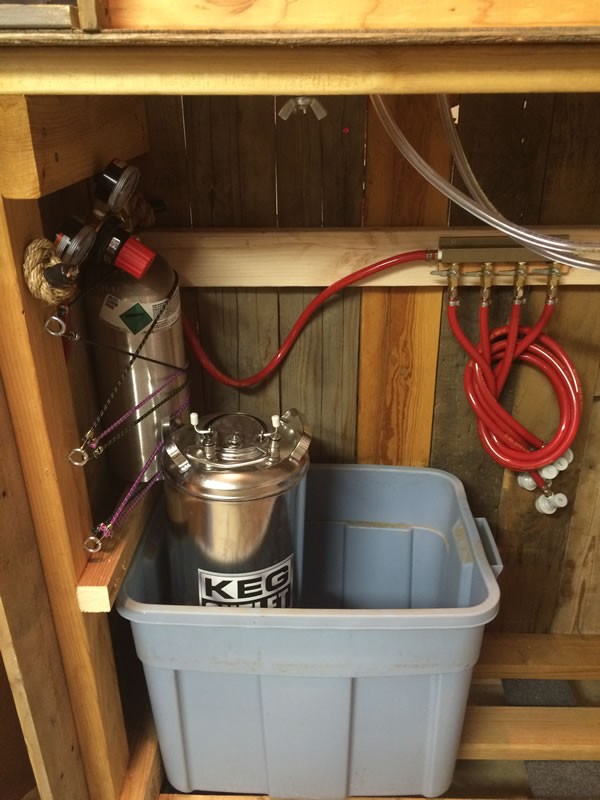
 Begin by deciding where the CO2 tank will be installed. We chose to mount ours to the left sidewall when looking into the bar from behind. We put a cross bar on the side wall which would hold the CO2 tank above the bins that will be used to hold our kegs and ice.
Above the cross bar, we installed eye hooks that will allow the CO2 tank to be strapped against the wall for security. The eye hooks can be seen in later pictures or in the gallery attached to this post. We used a few small bungie cords to strap the CO2 tank in once the eye hooks were installed.
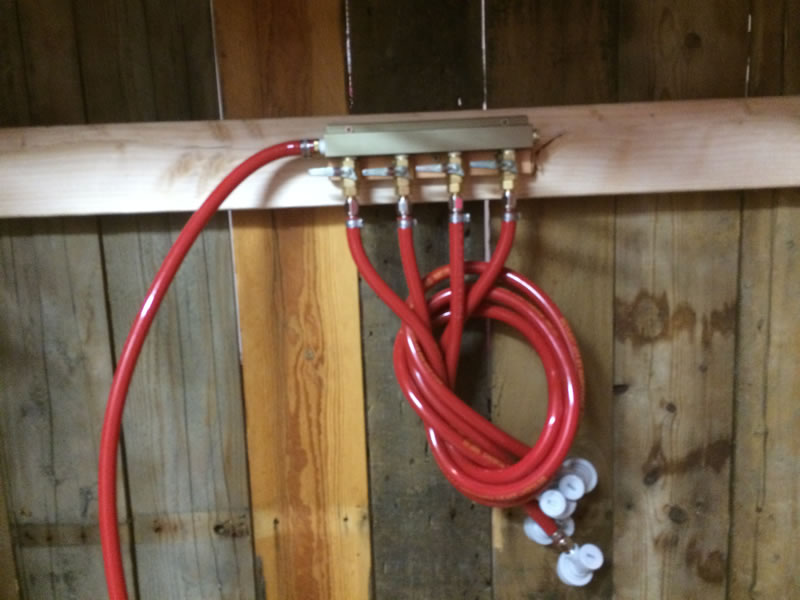 Once we know where the CO2 tank will be located, we can next decide where to place our air distributor. Keep in mind that the air distributor will have an inlet hose coming in from the left or right side of it. You’ll want to keep this in mind when mounting your CO2 tank.
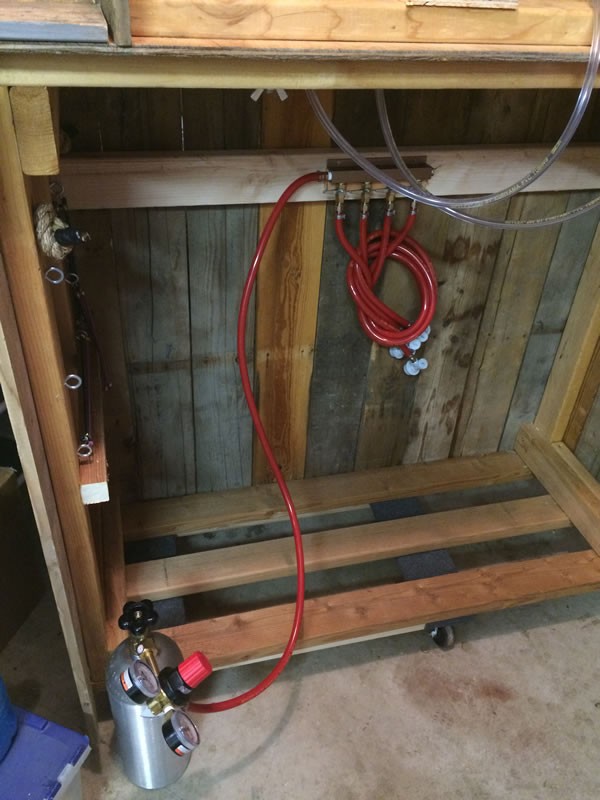
Since the air distributor is used to split gas to all kegs, we want this to be centrally located. We installed ours right in the center of the bar on a cross brace. The height of the air distributor should be just above the standing height of the kegs.
Installing the Liquid Side
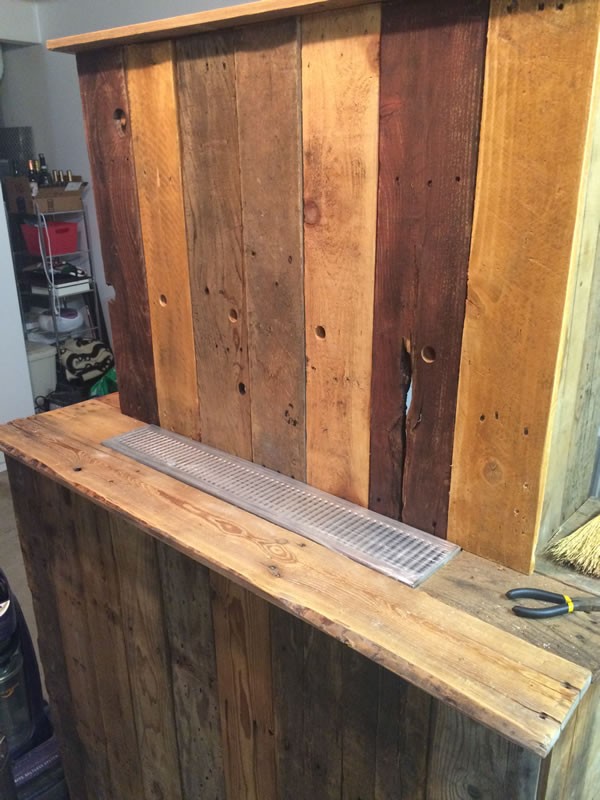
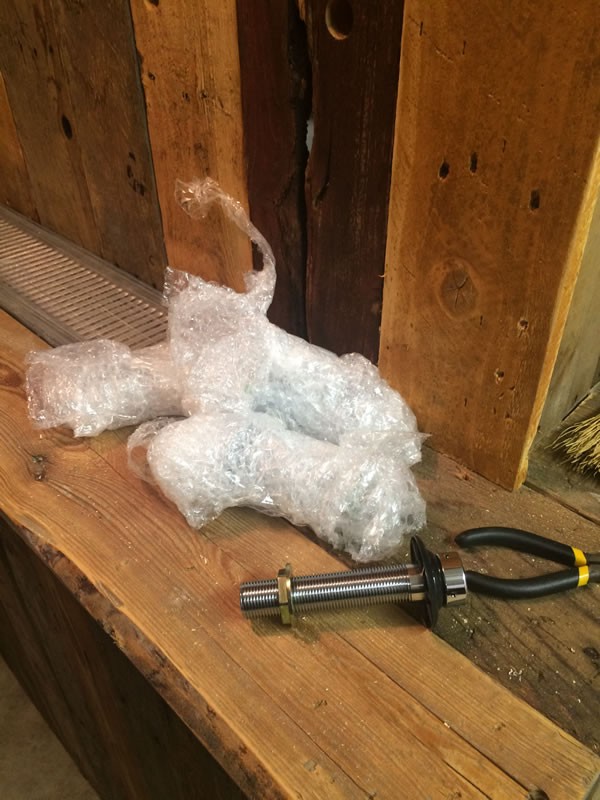
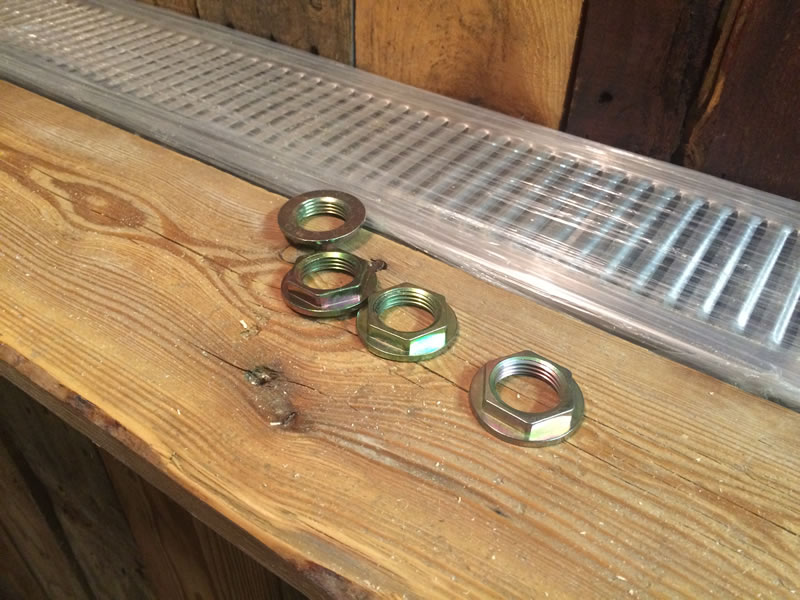
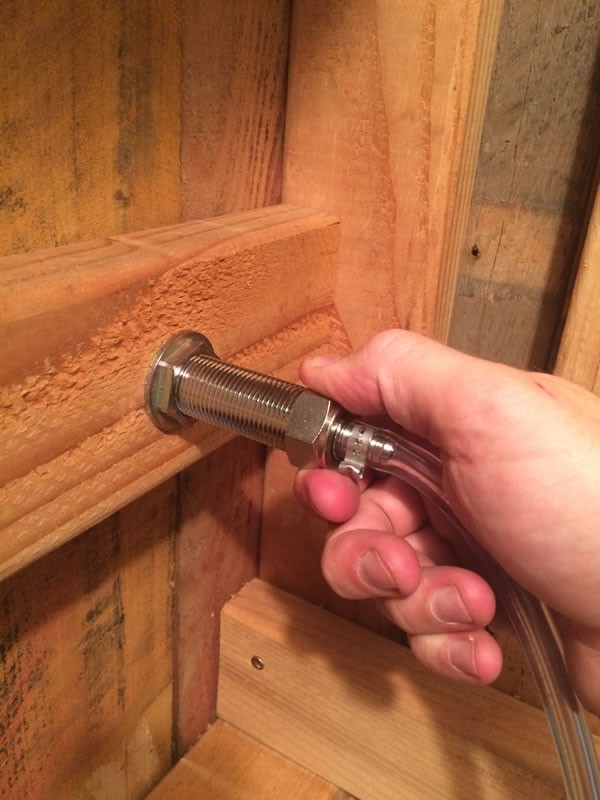
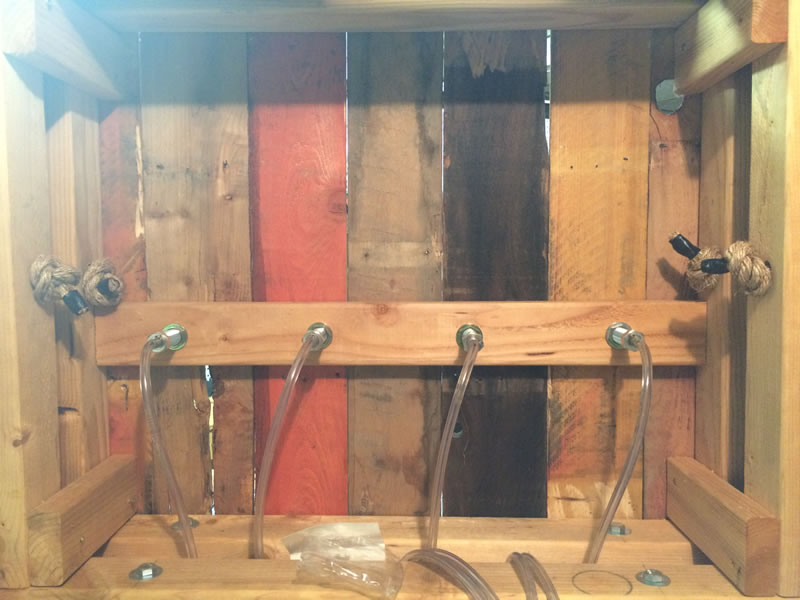
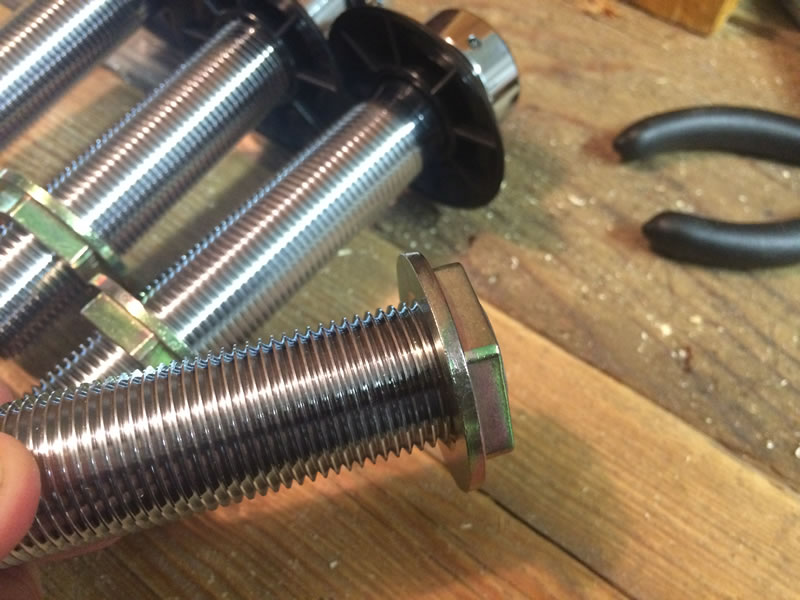 This is where the bar really begins to look complete because the beer faucets will be installed. But before we get to install the beer faucets, we must first install our beer shanks. If you ordered your kit from us, your beer shanks will be attached to your beverage lines, so begin by unscrewing the shanks from the beverage lines. Once the beverage lines have been removed from the shanks, you can remove the hex locking nut.
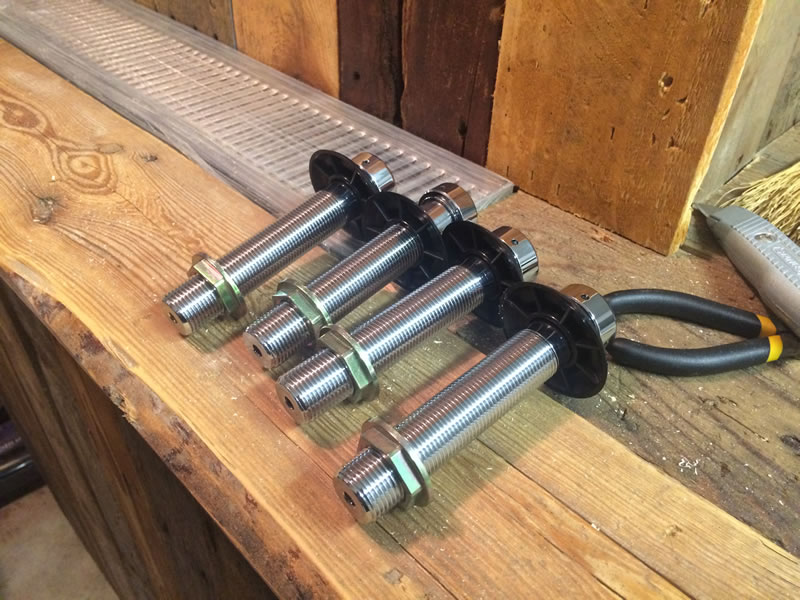
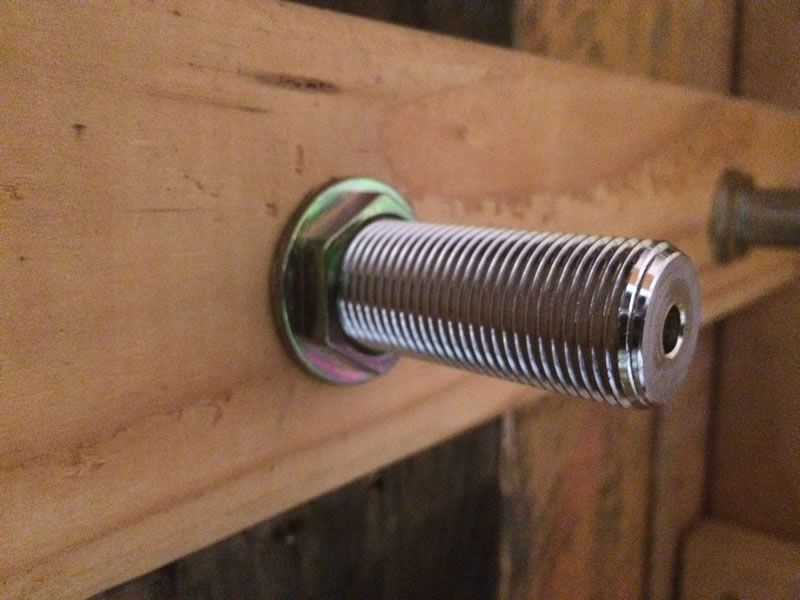
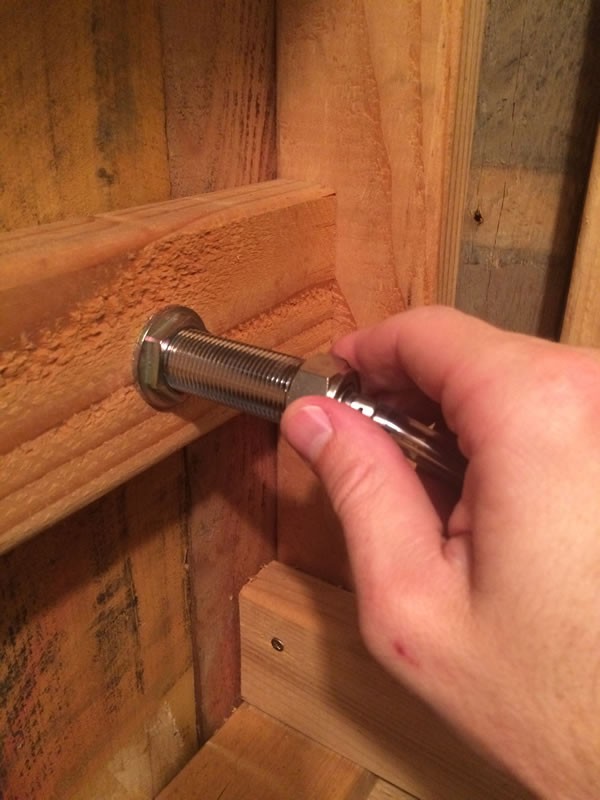
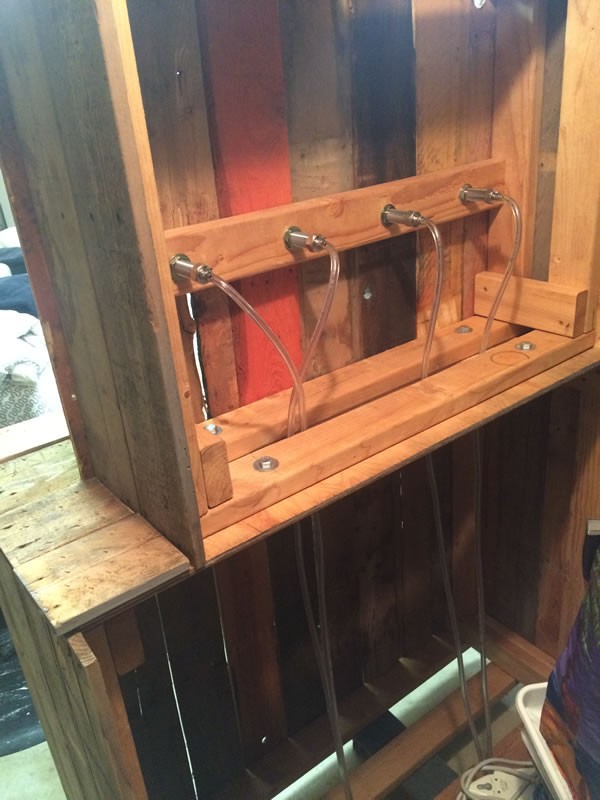
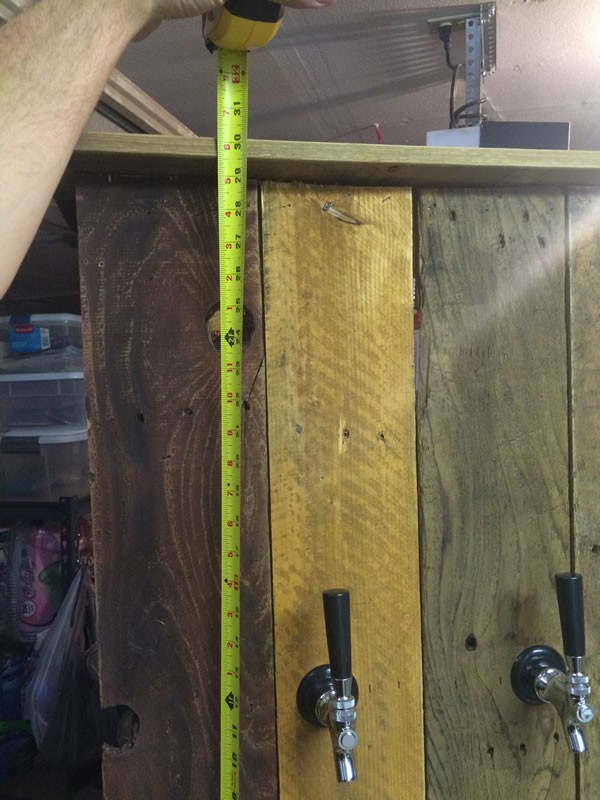
 With the hex nut removed, insert each shank through the holes that we drilled through the front of the bar. Insert the shank from the front of the bar making sure that the shank flange is in place as well. With each shank inserted, secure it by tightening the hex nut on the backside. These should be tightened to be snug, but be sure not to overtighten as this could crack the shank flange.
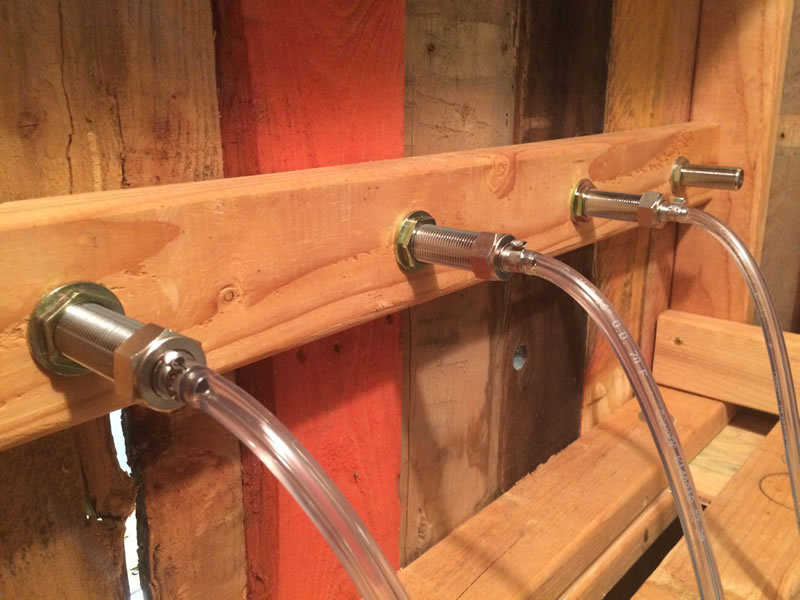
 After the shanks are installed, you can re-attach the beer lines that we previously removed. The beer lines just screw onto the back of the shank using the attached beer nut.
Make sure that you have a beer washer installed between each shank and beer line. Without the washer you may notice some leaks – if your bar is going to be used outside, this might not be a very big deal, but why waste beer.
When the beverage lines are installed, we can move on to installing the beer faucets.
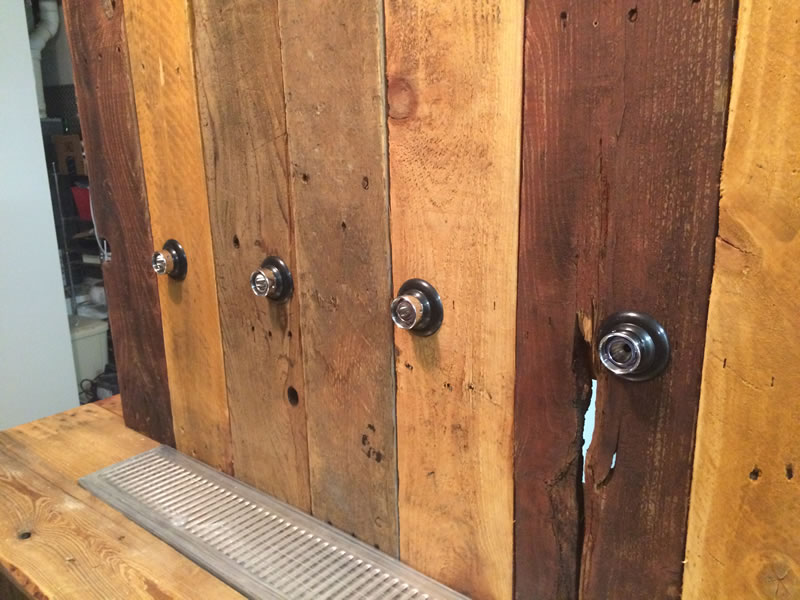
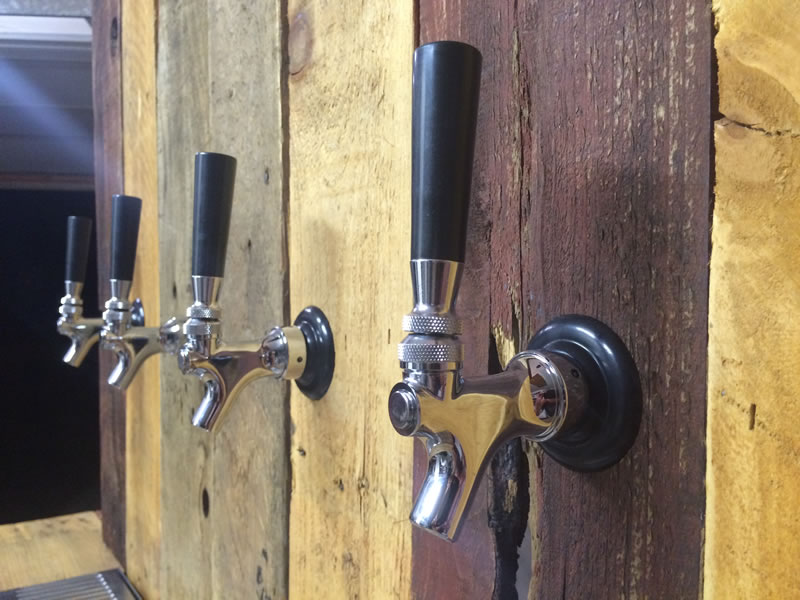
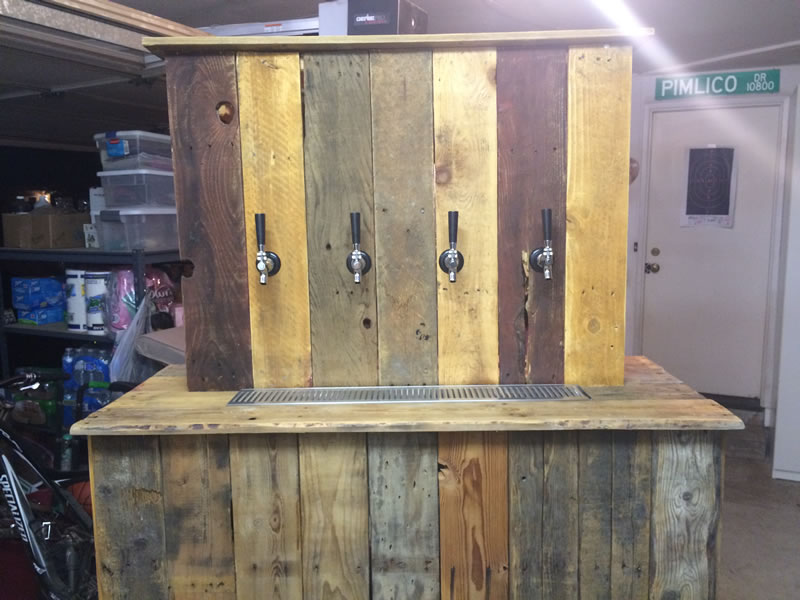
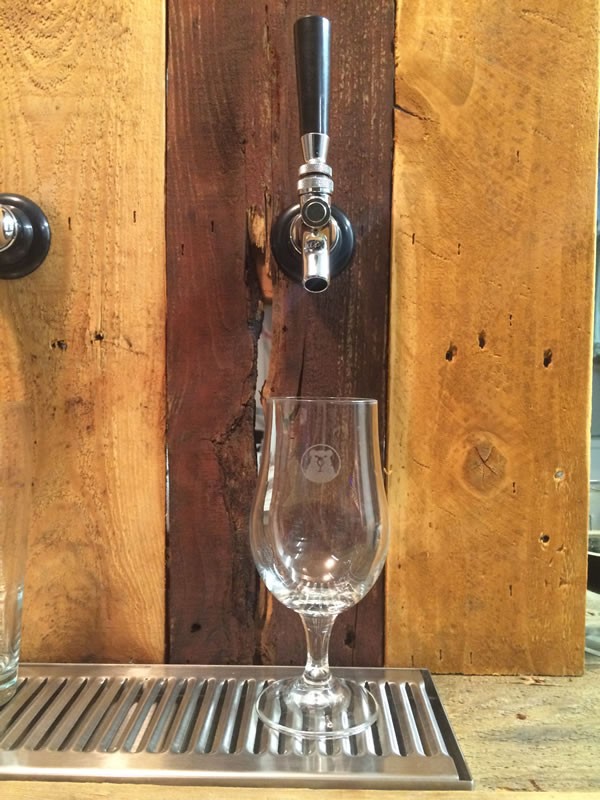
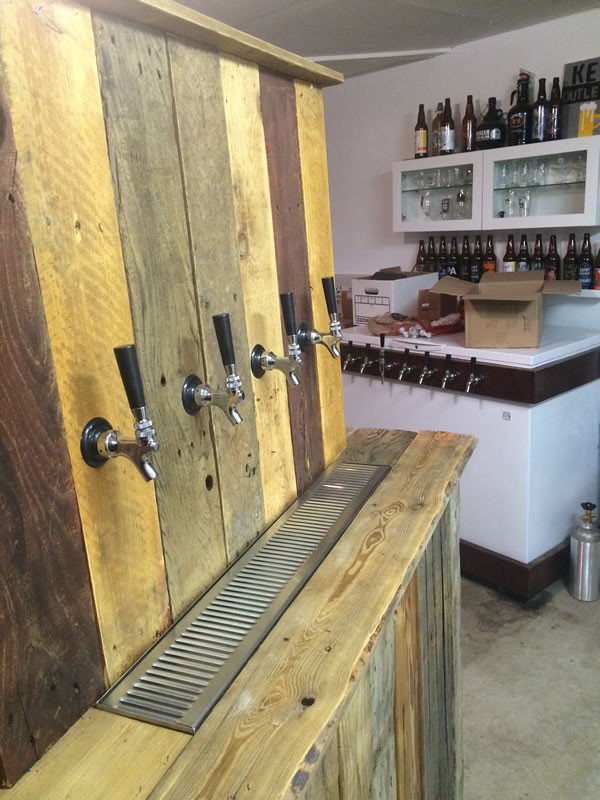
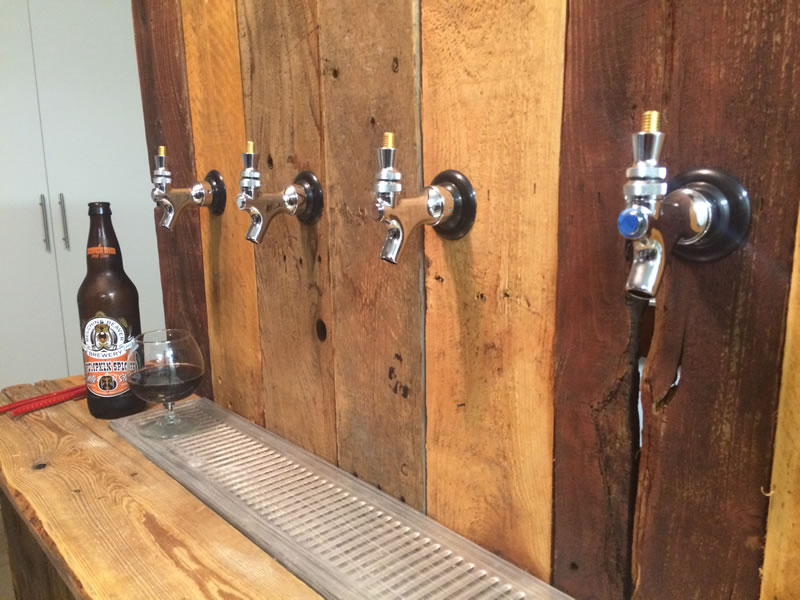 With the beer shank installed and the beer lines attached to the shanks on the back of the bar, return to the front of the bar and install the faucets. Install each faucet by hand tightening the locking ring to the faucet. Once all of the faucets have been mounted, go back through with a faucet wrench and tighten them the rest of the way.
At this point, your bar will really start to take shape. After this install your tap handles. We just used simple black tap handles, but you could optionally build custom tap handles to go along with the beer bar.
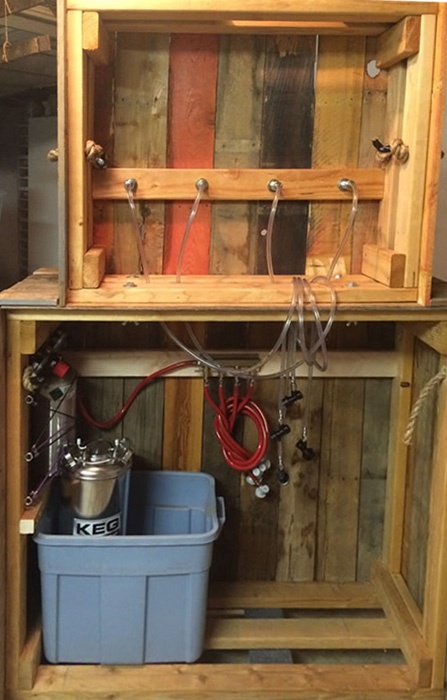
Install and Test Fit All Components
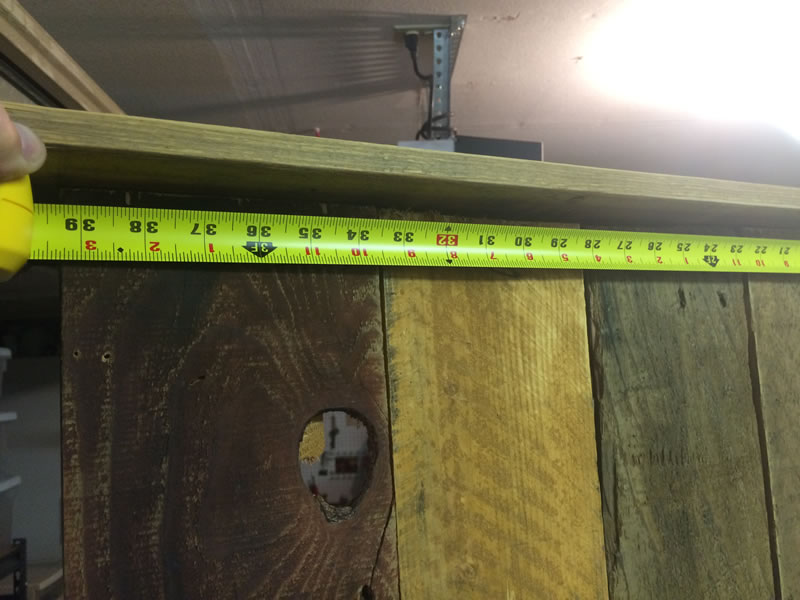
 Prior to putting full kegs in, it’s a good idea to test fit everything to make sure it all fits in and works like you expect it to. Here are a couple things you’ll want to check:
- Check CO2 tank fitment with regulator attached
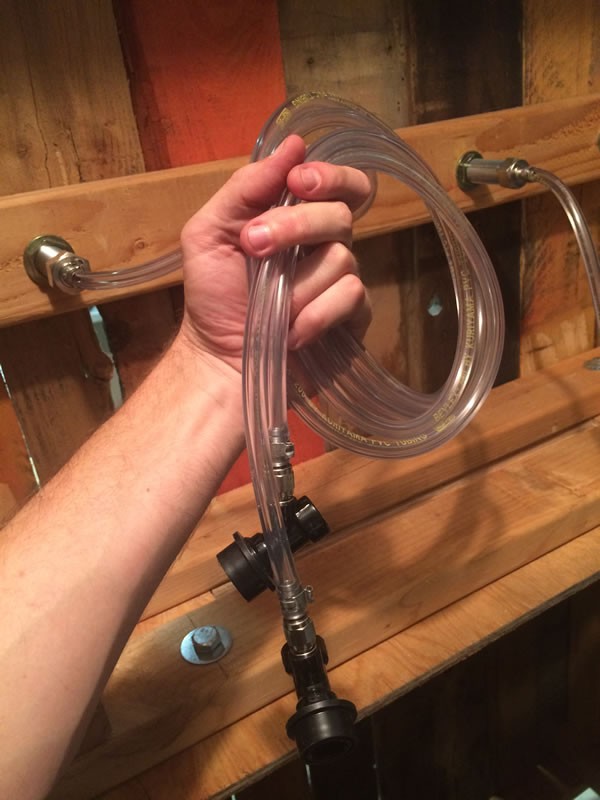
- Beverage line length to be able to reach to each keg
- Gas line length – Can you shorten the line from the regulator to the air distributor?
- Gas line length to be able to reach to each keg
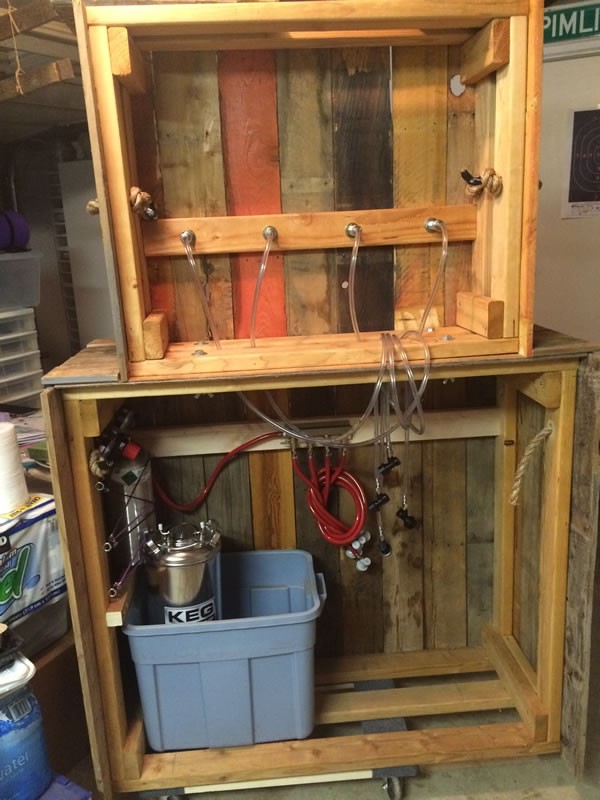
- Cooler / Ice Chest / Storage Bin fitment – Whatever you are using to hold the kegs and keep them cold, you’ll need to make sure that it fits under the bar in terms of width/height/depth. We just used rubbermaid storage bins and the ice outlasted the beer.
Once you’ve verified that all of your components fit as they should, you are just about done with your bar build! Stay tuned for our final post on a couple cool additions as well as some shots of the bar at the wedding that it was built for. Checkout the full gallery of the installation of the draft system below.
Cheers!