This is a follow up post to the original Scaling Up – Brewing 5 Gallons of Kombucha at Home (which I forgot to continue updating). I don’t know why I never finished the original post, but here we are now, almost 1 year later and I’m digging back through my notes and pictures to see what I can piece together.
After going back and trying to dig through my notes and pictures, I realized that I did a terrible job in taking notes and that pictures are very few and far between as well. I may have brewed this first 5 gallon batch of kombucha with no expectations, or maybe I was just too excited to get it going, so I didn’t take time to take notes and pictures. Either way, what you’ll get here is the best I can put together from memory and the few pictures that I did take.
The first part of this post ended up about 5 days into fermentation and at that point, the scoby had risen to the top and a small layer was starting to form on the surface. I do remember that it took quite a while for the scoby to really form on this batch and start the fermentation process. I think this was partially due to the fact that I didn’t have enough starter tea to pour into the batch along with the scoby.
The scoby is generally known to do all of the fermenting in kombucha, however the starter tea definitely has its purpose as well. Starter tea is basically just healthy, unflavored, fermented tea – kombucha. Adding starter tea to a new batch of kombucha has two main purposes:
- To lower the overall pH of the batch and make it more acidic
- To introduce any additional microbes that might not be present in the scoby
I believe it was the lack of a sufficient amount of starter tea that was the reason it took this batch so long to start (and finish) fermenting. Suggested amounts of starter tea are about 2 cups per gallon of kombucha which would indicate that this batch would have required about 10 cups of starter tea. I don’t have notes, but I would be surprised if we added 3 cups of starter tea to this 5 gallon batch.
Nonetheless, it did finally make it through fermentation after 3 weeks and I was able to add some fruit to it. The batch started on September 3 and I pulled the scoby and added fruit on the 24th.
3 full weeks of fermenting. In most cases, if a normal amount of starter tea was used, I think we would have been left with vinegar after 3 weeks, however since we didn’t have the right amount of starter tea, I think the extra time was necessary. I’ve read that kombucha can ferment for anywhere from 7 to 30 days with the sweet spot being in the 7 to 14 day range. Beyond that, you start to get a very vinegary flavor.
Removing and Storing the Scoby
After primary fermentation is complete, you want to remove the scoby so that you can add your flavoring and let the kombucha.
At this point, many will drain their kombucha into smaller bottles that are pre-filled with fruits, herbs or other flavorings and allow the kombucha to naturally carbonate, but since we’ll be kegging this batch, we’ll continue our secondary fermentation in the same vessel.
If you’re interested in bottling your kombucha, check out the link above.
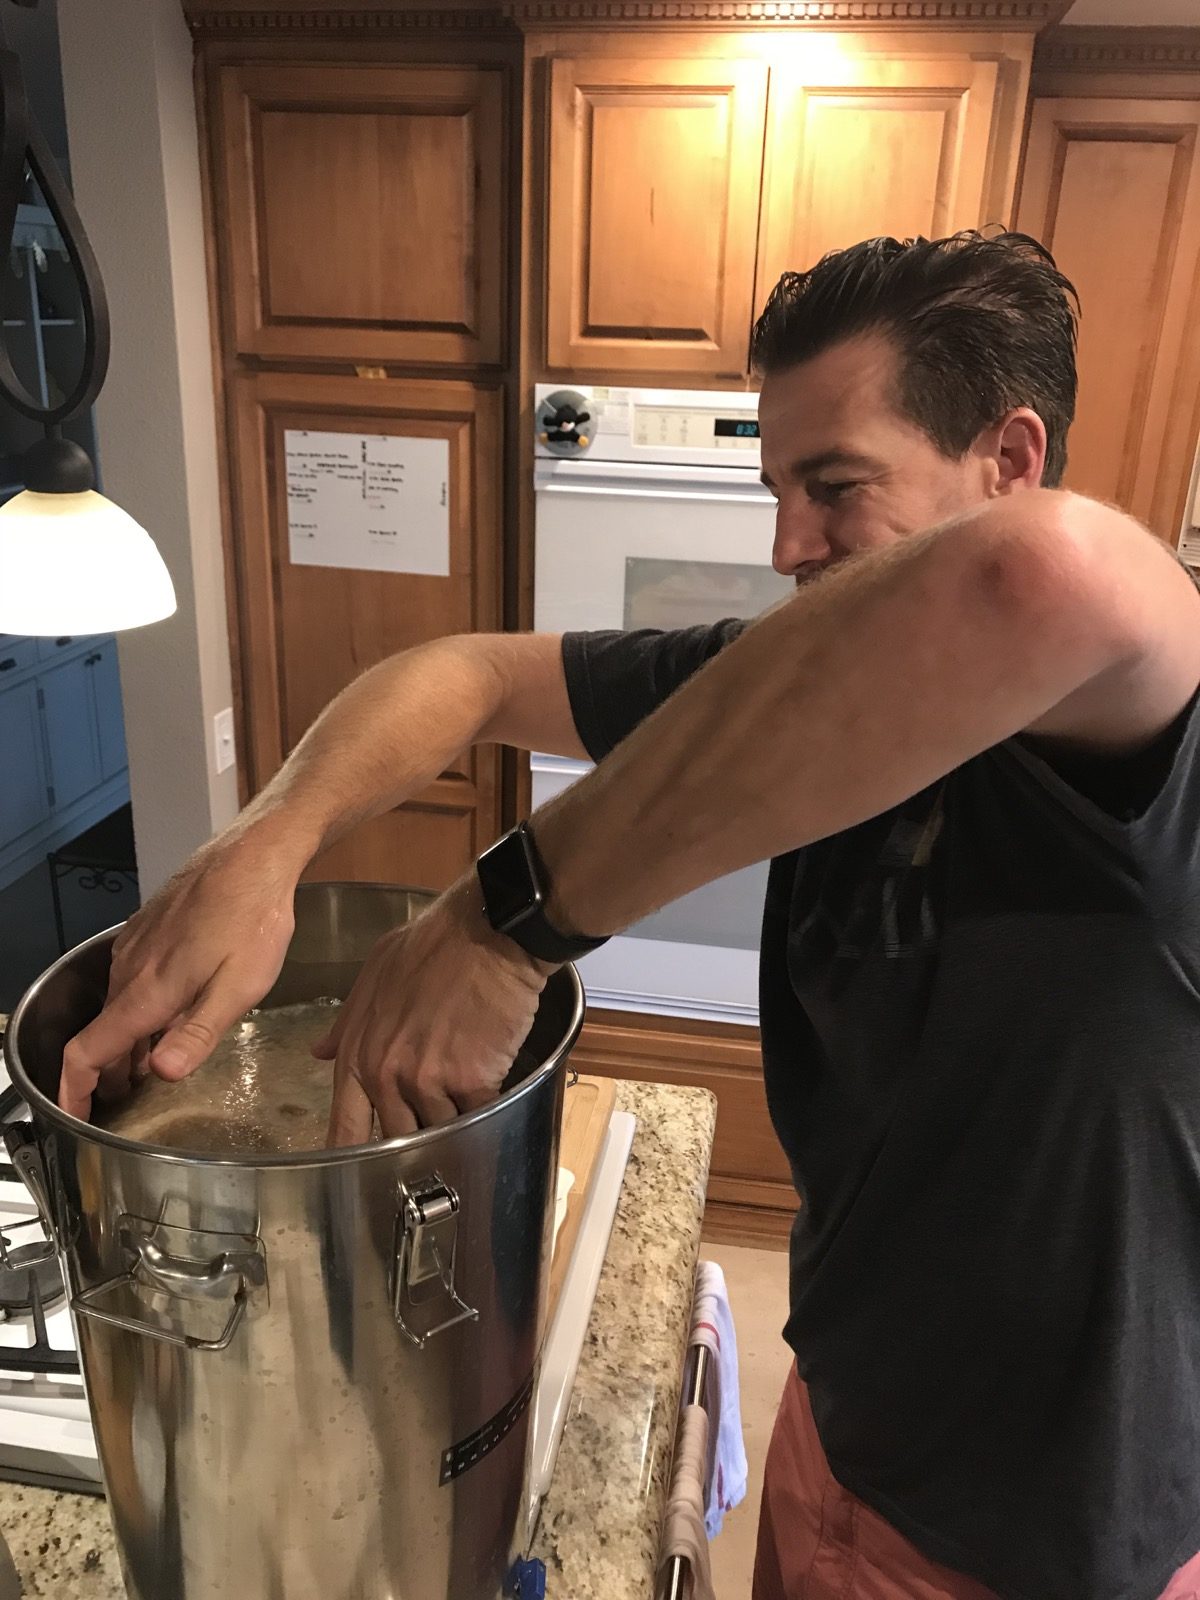
To remove the scoby, washed my hands really well and barehanded the thing. If you’ve never handled a scoby (which I hadn’t), you’d likely be surprised at how dense and durable it is. To be honest, I thought the thing was going to tear apart upon handling it. Since the final scoby was about 15+ inches in diameter, my original plan was to take a circular cookie cutter and cut small circles out for storage and later use. That proved to be pretty difficult, so I had to get a knife involved.
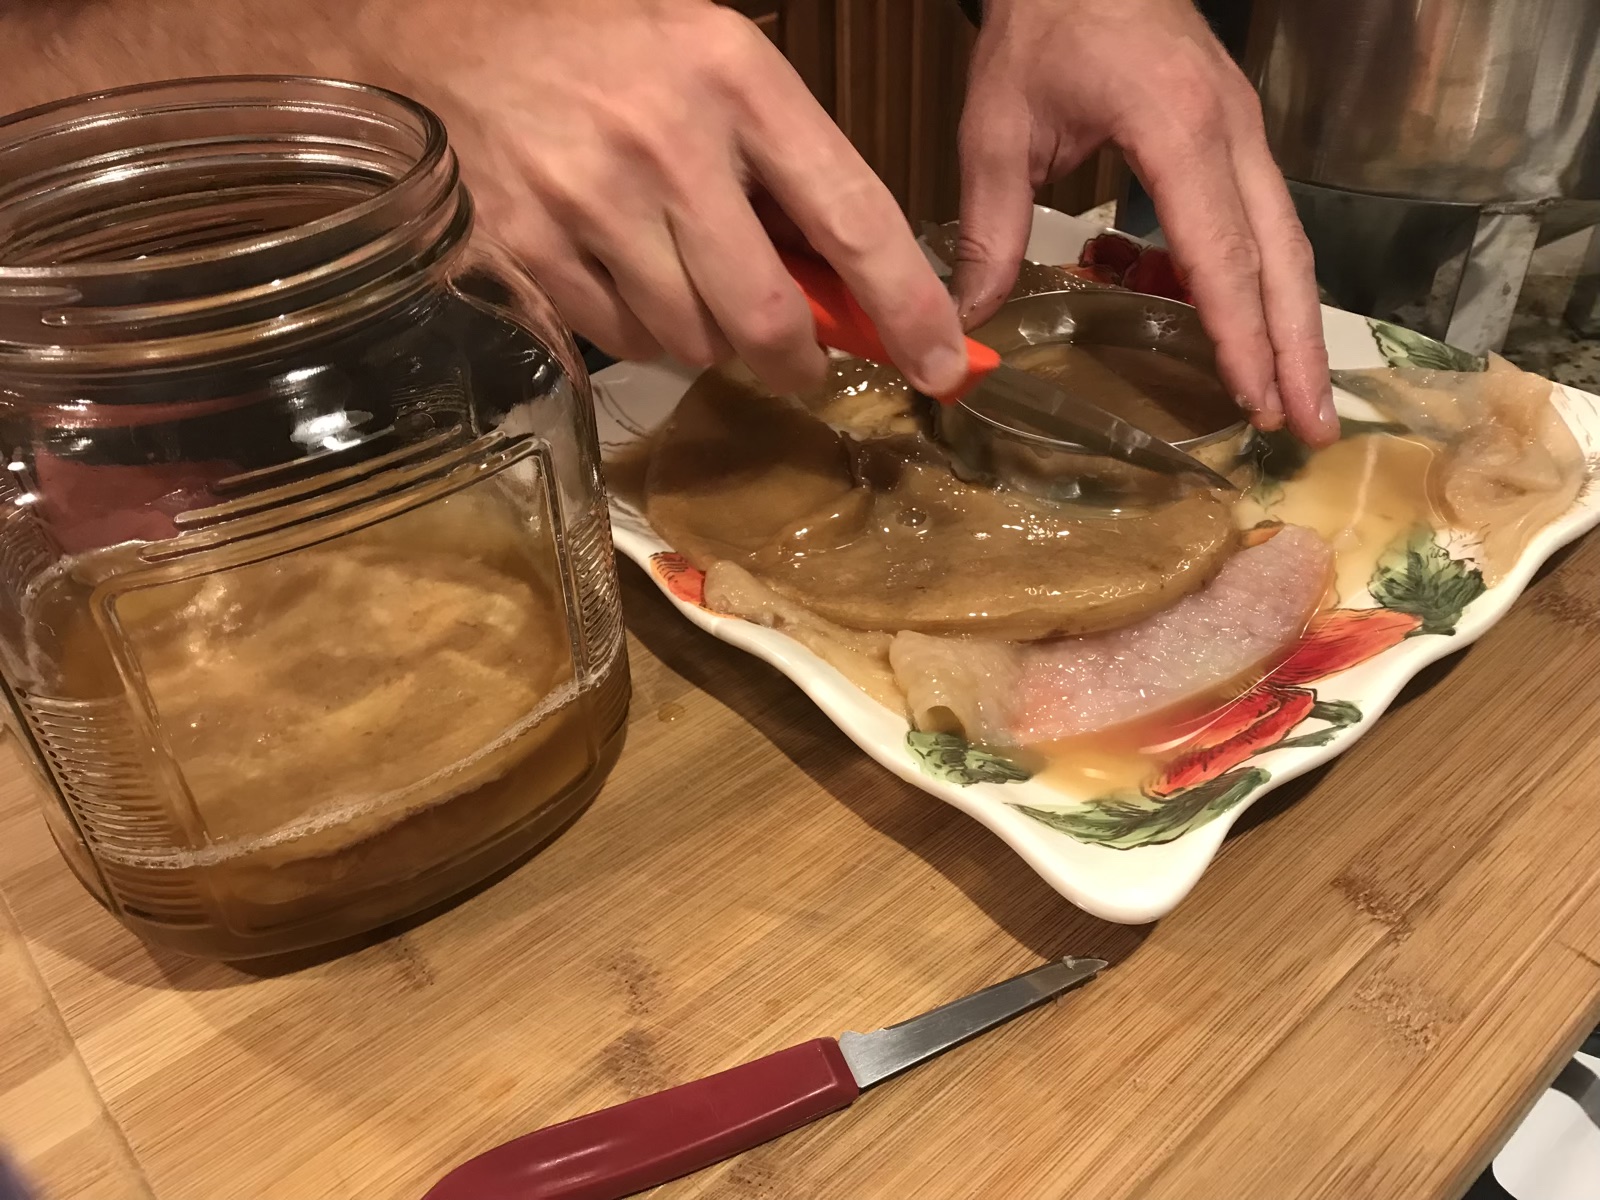
Once the giant scoby had been scaled down, it was all added to a large jar and topped off with some of the kombucha from this current batch. Then into the fridge for storage and ready for the next batch. The next batch came sooner than expected and we used this to do a batch of raspberry kombucha at the office.
Adding Fruits, Herbs and Natural Flavors to Kombucha
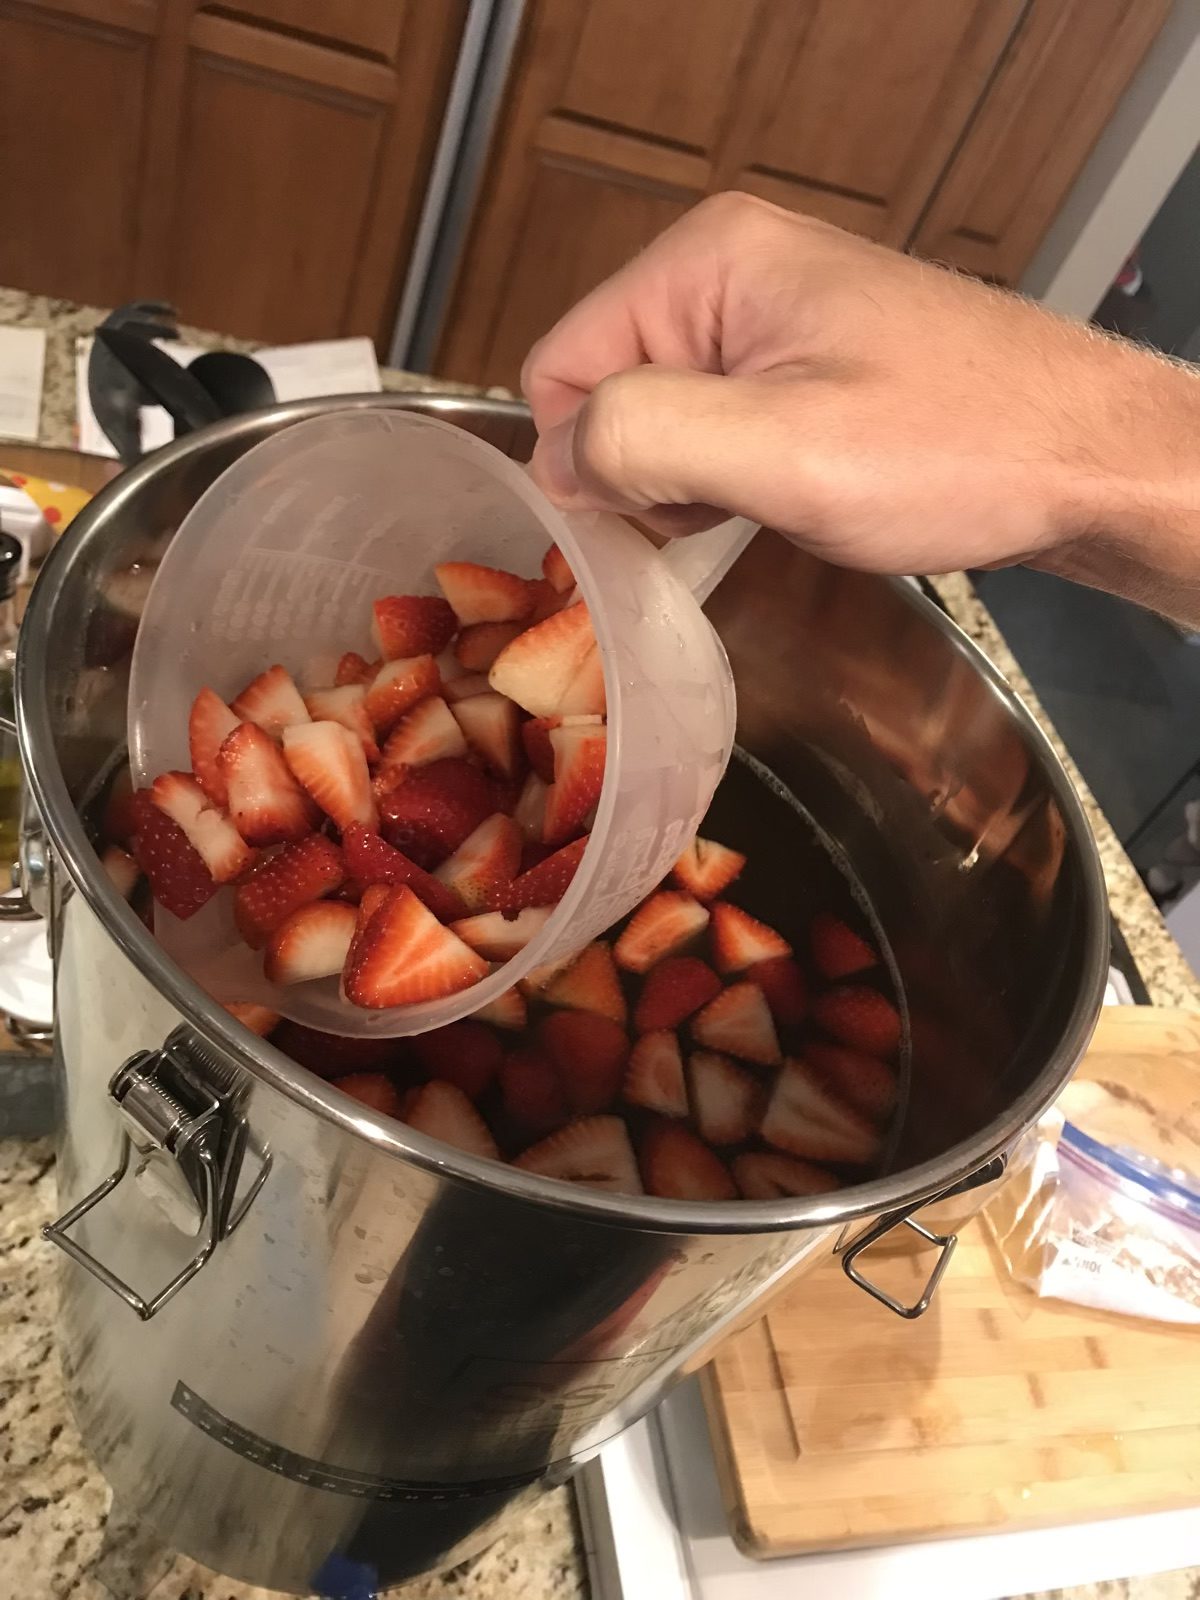
With the scoby removed, it was time to add some flavor to this batch of kombucha. In our first couple small batches, strawberry was a hit and we still had access to some fresh strawberries, so that’s what we did.
If memory serves me correctly, we added 1 cup of sliced strawberries per gallon of kombucha, so approximately 5 cups in total.
Now, if we had added the fruit into bottles and were going to let the kombucha naturally carbonate, it could take up to a week or more. Plus, you have to be cautious that you’re not creating “bottle bombs” and take care to “burp” your bottles from time to time to make sure that they’re not becoming over carbonated.
This is why I prefer kegging kombucha.
It’s much easier to flavor the kombucha in the same vessel that it was brewed in. This way, you can sample as day to day as the fruit flavor is extracted and when you hit the taste profile that you like, you can move your kombucha into a keg.
See the video below, this isn’t this batch of kombucha, but we took a similar process in our next batch which was brewed at our office. Rather than using strawberries, we used raspberries to flavor the kombucha. Using our large brew system, the process was simple – remove the scoby, add the fruit and then wait. If you watch the video, take notice of our “scoby scoop” that we use for removing the scoby, rather than bare handing it like in the picture above.
Kegging Kombucha
Honestly, kegging kombucha is simple. I wish I would have taken more pictures of the process, but as I’ve said before, “If you can fill a jar, you can fill a keg”. So since there are no pictures, I’ll sum it up quickly, filling your keg with kombucha is as easy as draining your brew vessel into the keg of your choice.
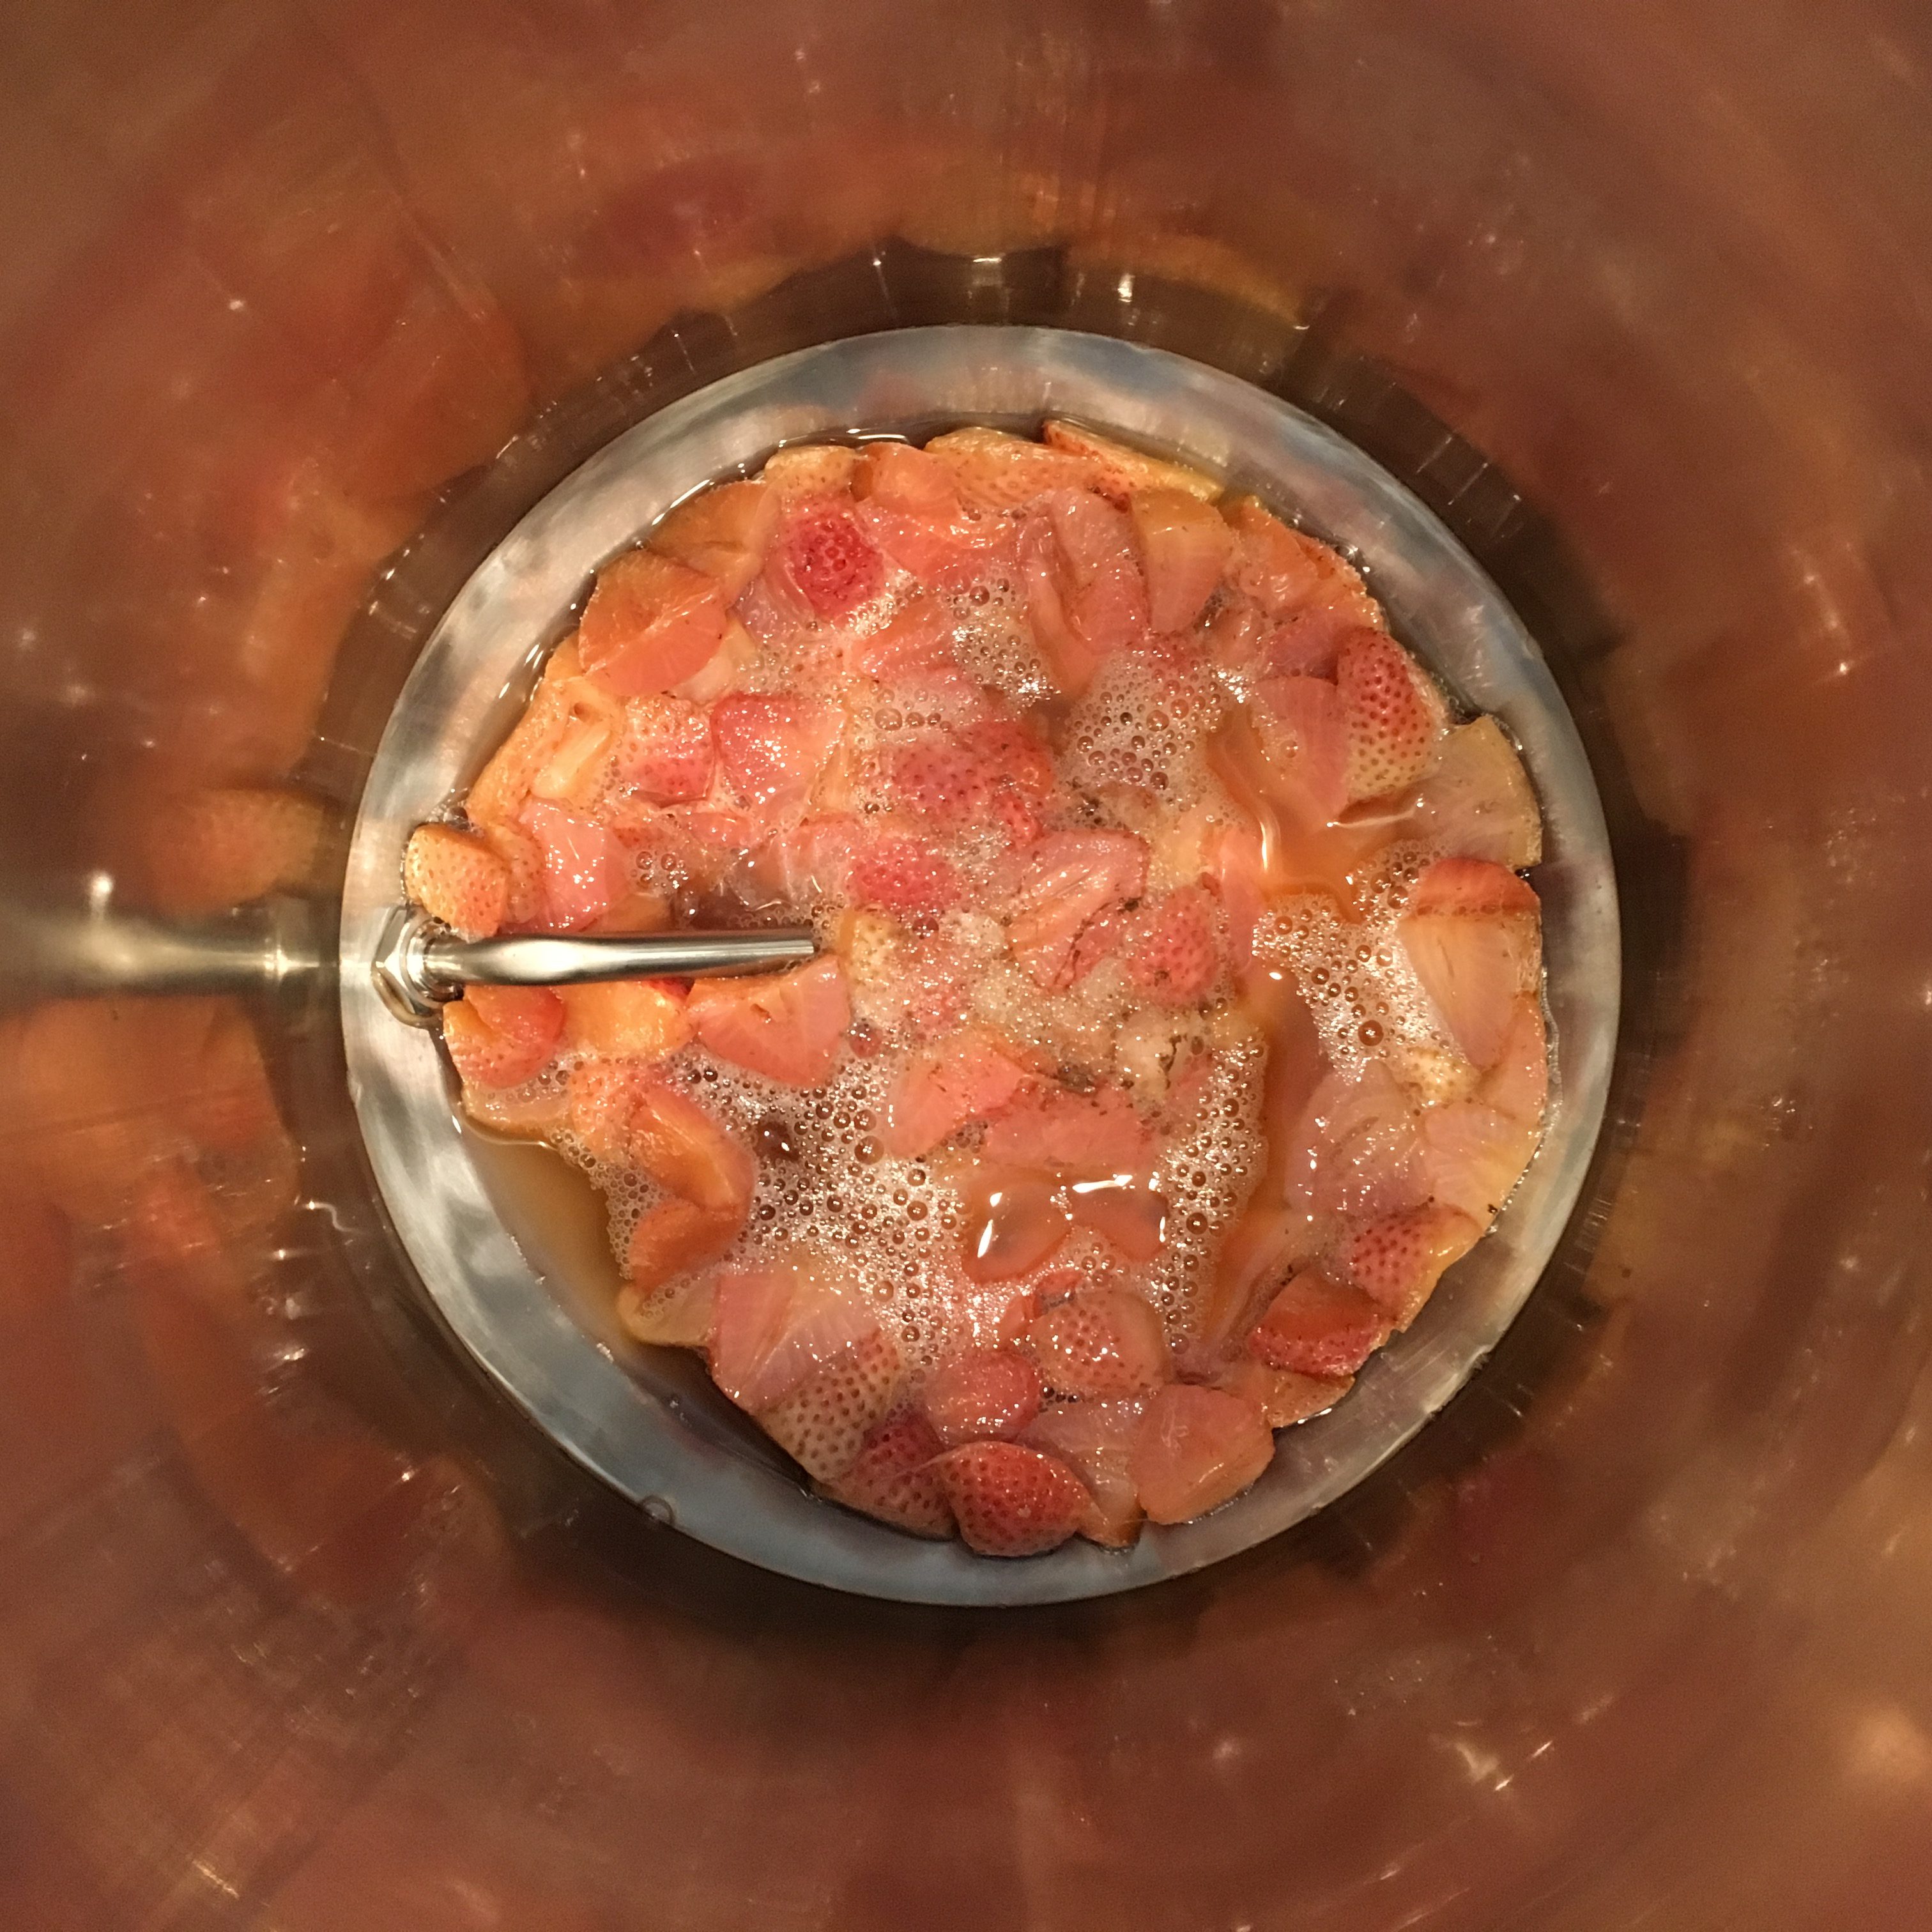
Here’s one picture that I did happen to take, the fermentation vessel after being emptied into a keg, just strawberries remain. One thing that I need to look into is if this fruit can be used after being fermented. Truth be told, I tried a strawberry and it was, well… a bit tangy. I’m not sure if that’s the right description, but it was surprisingly flavorful given its appearance, but it had taken on quite a different profile than how it had gone in.
The strawberries sat in the kombucha for just 4 days prior to being kegged. Amazing to see how much color they lose over such a short amount of time.
This isn’t from this batch of kombucha, but shortly after we did this batch of strawberry kombucha, we decided to brew a batch of raspberry kombucha at our office. You can check out the process of kegging kombucha and serving kombucha on draft in the video below.
Pouring Kombucha on Draft
After being kegged, you can essentially start pouring kombucha on draft immediately, however I prefer slight carbonation in my kombucha. This is another benefit of kegging verse bottling. Once the kombucha is in the keg, you can hook it up to CO2 and force carbonate it very quickly if you’d like by applying a very high pressure, or you can hook it up at a lower/serving pressure and let it carbonate slowly over a period of a few days. If you can wait, this method is a little easier as it helps prevent over carbonation.
How about you, do you prefer kombucha to be flat or a little effervescent?
Let us know in the comment section below.
Final Thoughts and Takeaways
Overall, I was very happy with the way this batch turned out. It was extremely drinkable and the whole family loved it.
I especially loved having it on tap in the keezer. It’s so nice to have kombucha on draft at home. I can’t tell you how many times I opted to pour a nice tall glass of kombucha rather than having a beer.
Things that I’d do different next batch:
- Use more starter tea. If 2 cups per gallon isn’t available, consider adding some vinegar to help adjust the pH.
- Try to incorporate a heater to help keep temperatures up. I think the temp may have gotten a bit too low some evenings which could have played a role in the longer fermentation time.
- Take more pictures to share with any of you who have read to this point!
Photo and video links
How to Add Natural Fruit Flavor to Kombucha During Second Fermentation via Keg Outlet on YouTube
How to Keg Kombucha and Serve Kombucha on Draft via Keg Outlet on YouTube
Photo by Candice Picard on Unsplash
Photo by Whitney Wright on Unsplash