If you have read any of my kombucha articles, it’s needless to say that kombucha has been a hit at my house. My wife loves it, my 2 year old son loves it and my teenage daughters actually like it too.
With my first few batches of kombucha, I was brewing with a mix of kitchen equipment and small batch fermentation equipment from my homebrew setup.
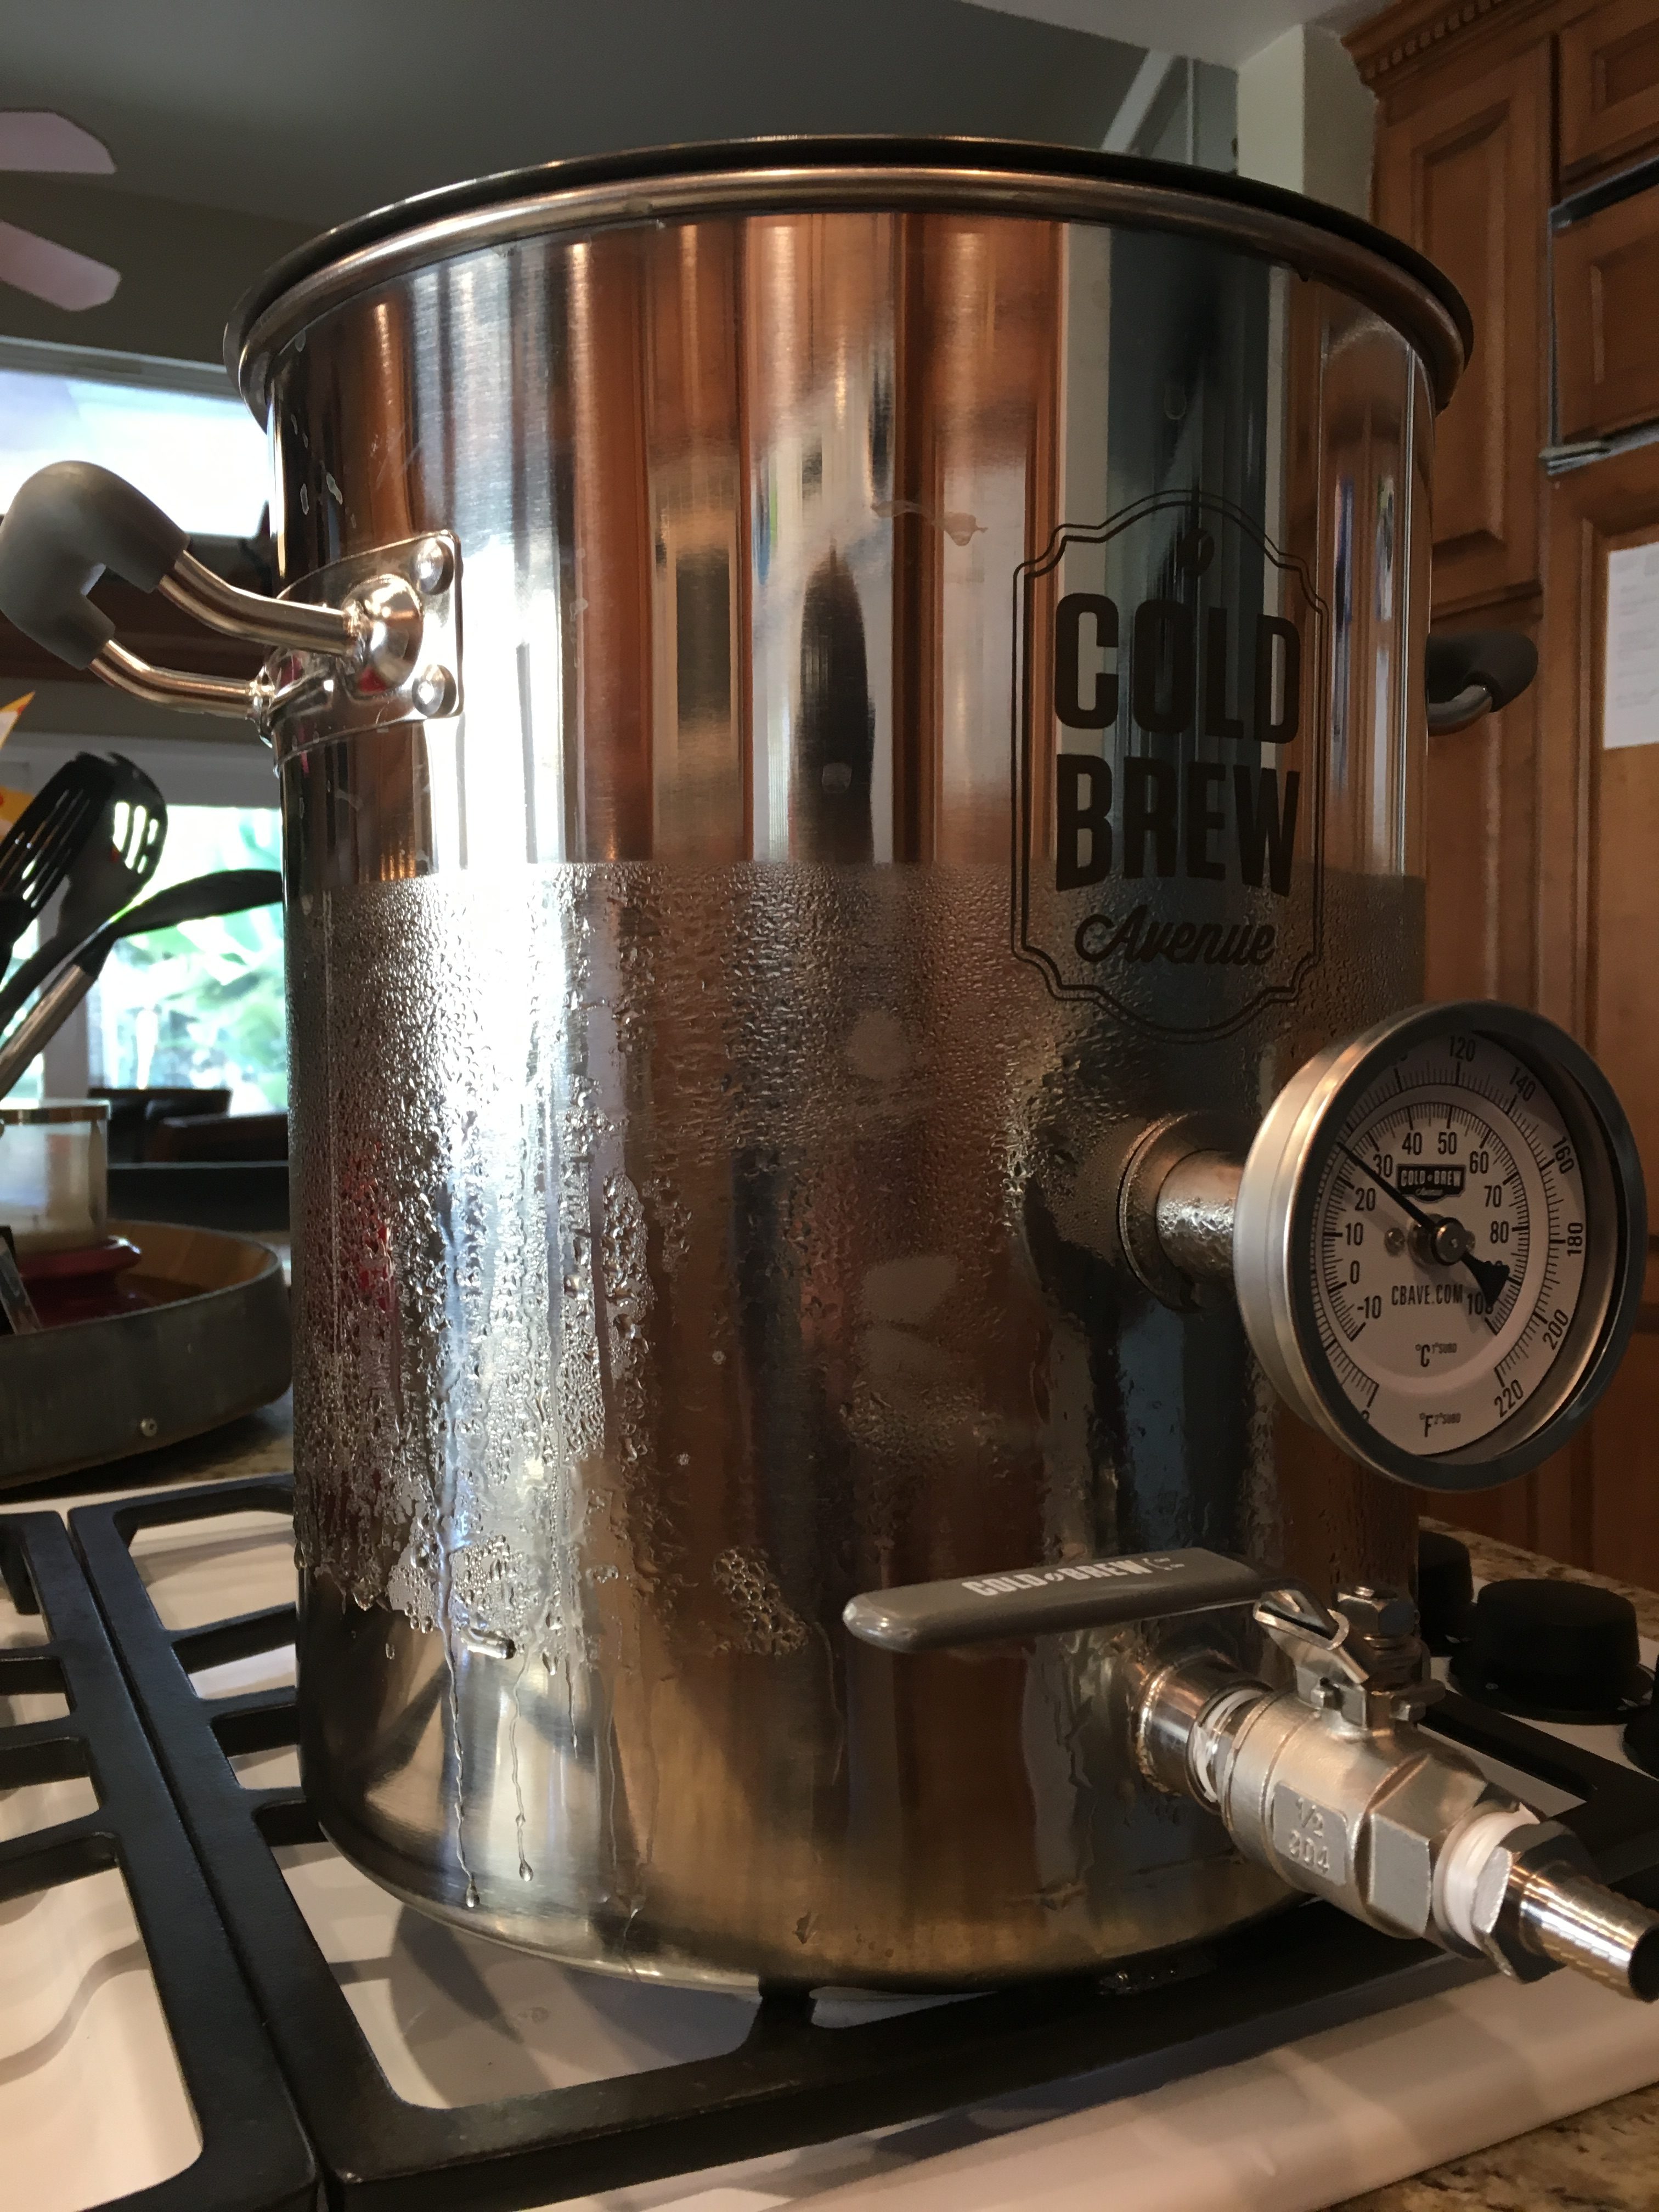
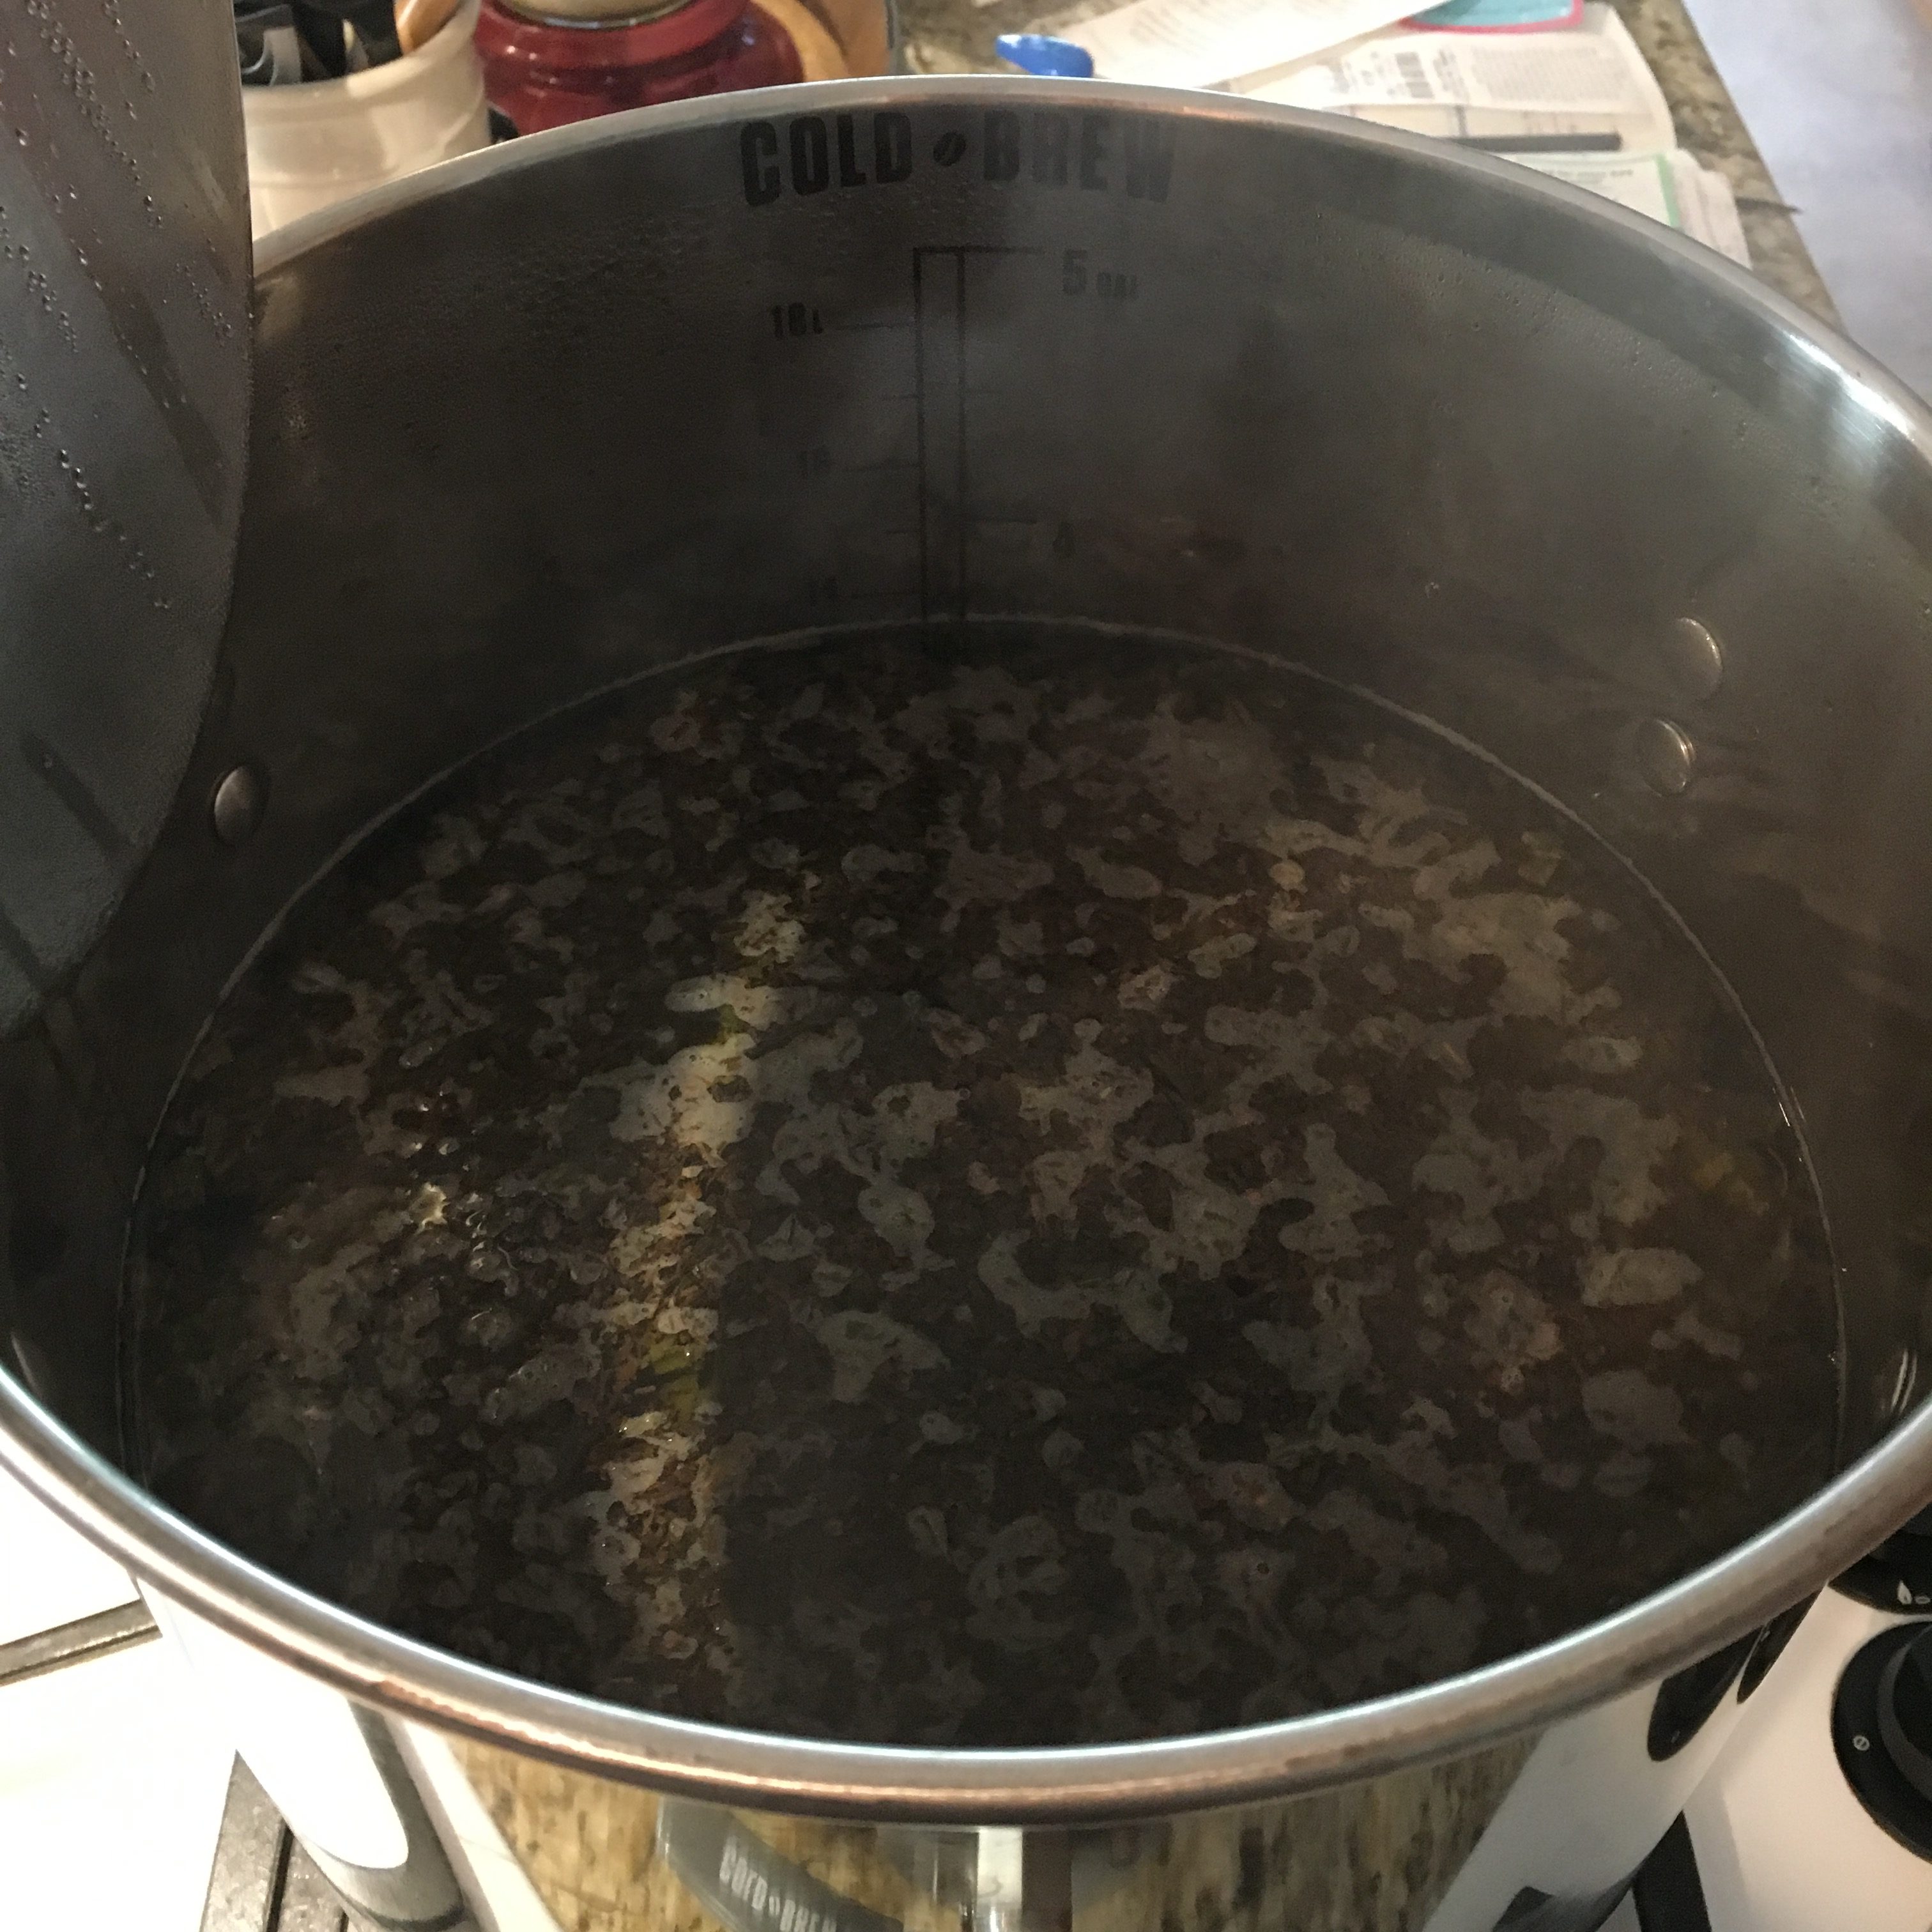
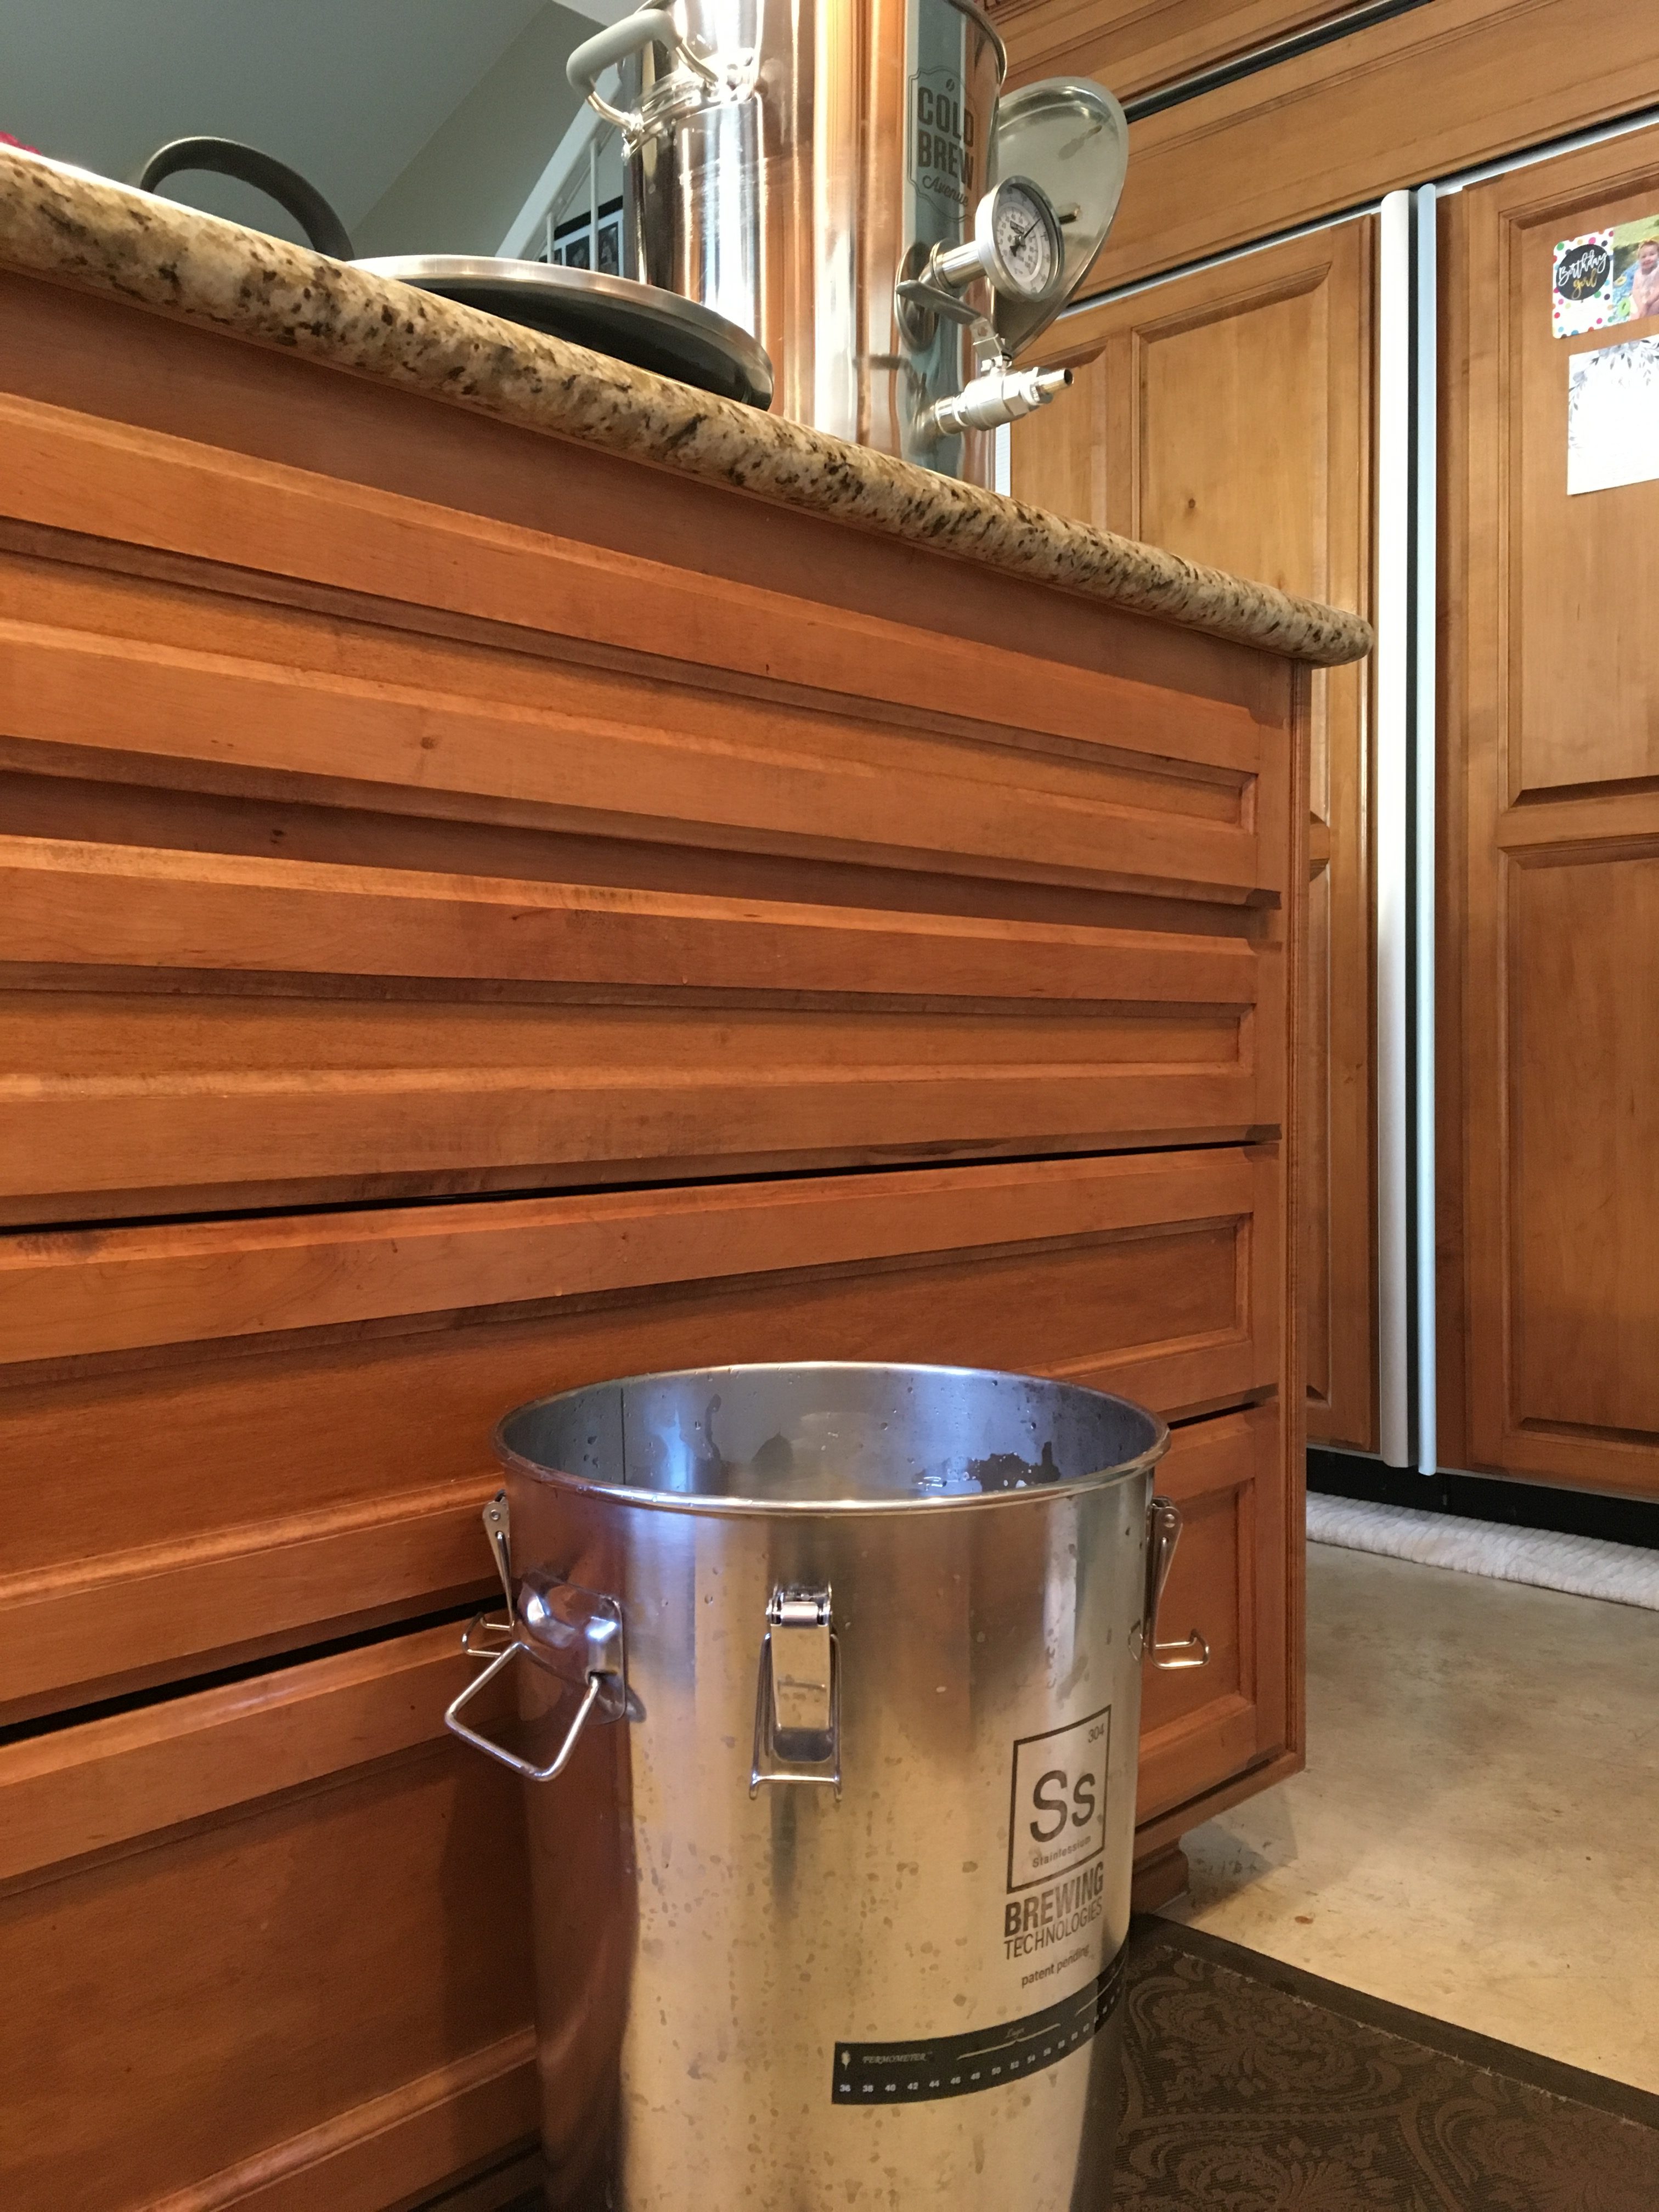
Now that I’ve hit the 5 gallon mark (a full corny kegs worth of booch), I’m once again moving up the equipment ladder. This time, I’m using a 5 Gallon Stainless Steel Cold Brew System to brew the kombucha and I’ll be fermenting it in an Ss Brewtech Brew Bucket Fermenter.
My Recipe for this 5 Gallon Kombucha Batch
Note that I’ve only brewed 3 batches of kombucha prior to this one, so to calculate the requirements for this batch, I simply scaled up my prior batches. At the time of brewing, I didn’t factor in any other variables. Feel free to copy this receipe, but I cannot guarantee results.
- 5.5 gallons of purified water
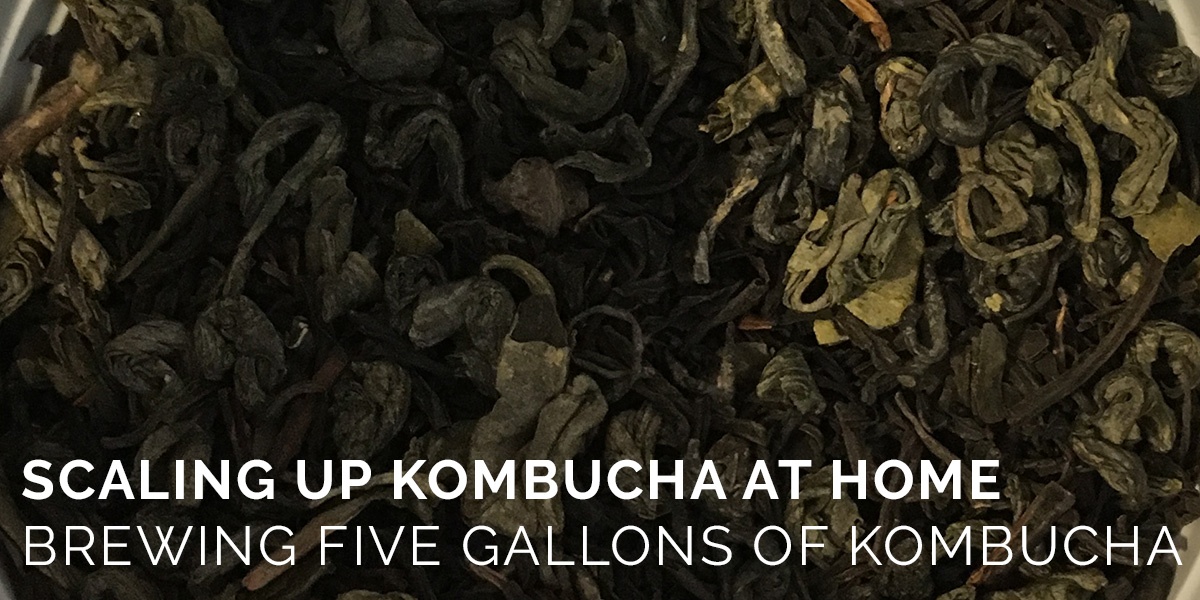
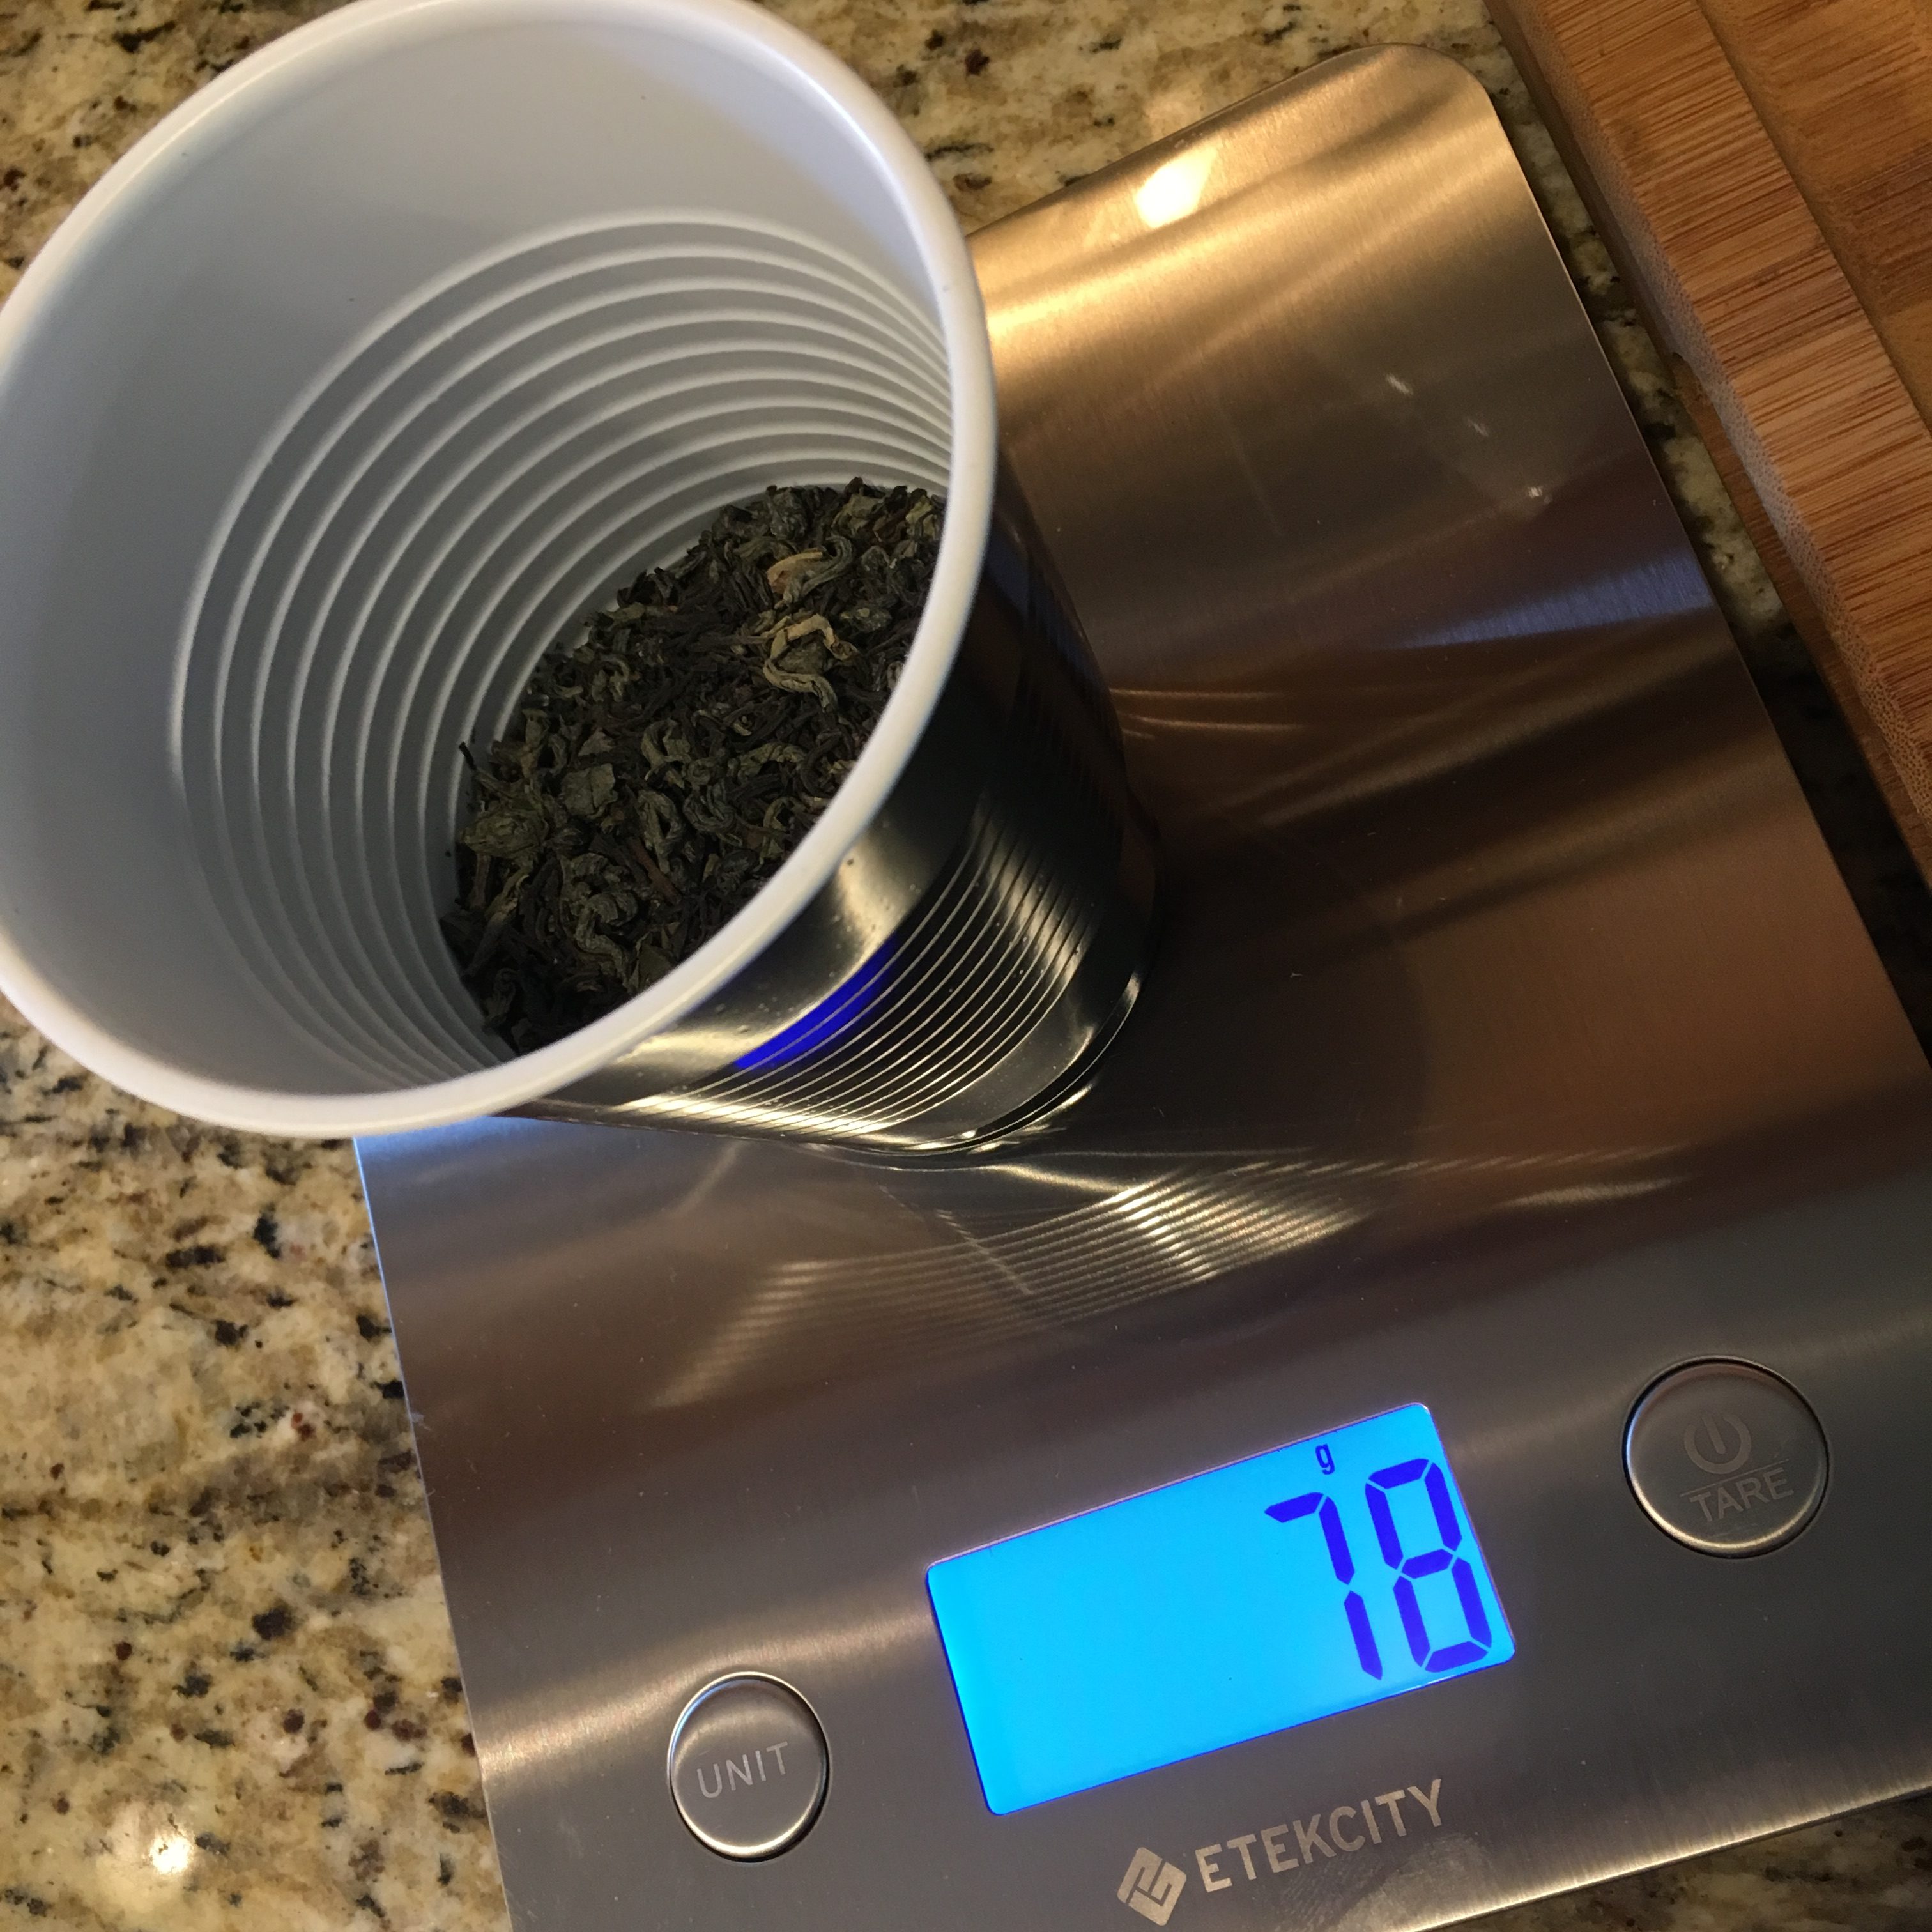
- 66 grams of loose leaf tea – 50/50 black and green tea blend (12 grams per gallon of water)
- 5.5 cups of organic cane sugar
- SCOBY – stored along with some booch from my prior batch
- Flavoring – TBD
Why brew hot tea in a cold brew system?
Firstly, the fact that the cold brew system is made of stainless steel gives it a lot of versatility. Heat it, chill it, fill it with ice, it really doesn’t matter.
Secondly, with this batch I used loose leaf tea for the brew, where in my previous batches I had used multiple tea sachets, so there was no straining or separating that had to be done. So this time, I had to find a way to strain out all of the used tea leaves and the filter plate in the cold brew system provided me a way to do that.
Finally, my plan was to get about 5.5 gallons into the fermenter and the cold brew system has a max capacity of 5.5 gallons. Though I didn’t fill it all of the way, I like that I had the option to do a full brew – brewing the kombucha without having to dilute it with water after brewing. I’ll get into my thoughts on doing a full brew vs. brewing and diluting in a future post.
My 5 Gallon Kombucha Brew Process
I started this brew with the intent of getting 5.5 gallons into my fermenter, so I began by adding 4.5 gallons of water into my cold brew system. I left about 1/2 gallon to be used to dissolve sugar and room for about 1/2 gallon of ice to help cool the brew down.
After filling my kettle up with 4.5 gallons, I remembered how long it takes to chill 5, 10 and 15 gallons of wort when brewing beer. I also remembered that I did not have my wort chiller or any other method to chill the brewed booch other than by adding ice and water.
With this in mind, I dialed my kettle volume back to 3.5 gallons. This would allow me to add up to 2 gallons of ice and water and (hopefully) cool the brew down fairly quickly before adding the scoby.
Once I had the desired amount of water in the system, I started heating it up. I had concerns about bringing the water to boiling with the cold brew systems filter plate in place. I was unsure if the bubbles created by boiling would be able to escape through the fine 35 micron mesh, but those concerns were alleviated.
Once the water reached boiling temp, I turned off the heat and added my black & green loose leaf tea blend to the system. One thing that I quickly noticed is that the tea added far more color when brewed loosely. I didn’t measure TDS, but I’m curious if less tea could be used when brewing in this method vs. using tea bags/sachets.
While the tea steeped, I added 1/2 gallon of water to a small saucepan and dissolved 5.5 cups of organic cane sugar. My reason for doing this separately was because I was unsure how much sugar would get caught in/on the tea leaves and left behind when the kettle was emptied. So instead of adding the sugar to the kettle, I dissolved it separately.
When my tea had steeped for the required 20 minutes, I positioned my fermenting vessel beneath the brew system, attached the silicone hose to the outlet and simply opened the ball valve to start emptying the brewer into the fermenter.
As the tea flowed into the fermenter, I poured in the sugar water that was brewed separately. This allowed the tea and sugar water to be combined and mix.
At this point, I had about 4 gallons in my fermenter after the tea and sugar water had been combined. This gave me 1.5 gallons worth of space to add ice and cold water which was desperately needed as the temperature was currently at about 180ºF.
So I added ice and water. The ice immediately melted. I added more ice. The temperature was still outrageous. I didn’t have a thermometer available, so I didn’t get an actual reading, but if I had to guess, it only got down to about 140º-150ºF.
What were my options now? Basically just wait it out. I wasn’t about to clear out my entire fridge to put my fermenter in to help chill it. I didn’t have a wort chiller available, so I just covered it and waited. I didn’t want to risk adding my scoby while the temperature was so high as that could kill the active cultures.
I had brewed this about noon and when I check it around 9pm, the temperature was still in the upper 90s, so the wife and I watched a movie and my intention was to add the scoby when the movie was over. Whoops! Went straight to bed after the movie. Oh well… woke up the next day and added the scoby.
Is there any benefit (or detriment) to adding the scoby more (or less) quickly after the brew is complete? When brewing beer, the idea is to chill the wort as quickly as possible prior to adding the yeast, so I’m curious if there are any similarities to that when brewing kombucha.
Recap and Updates of the Brew and Fermentation Process
I brewed this on a Monday (Labor Day), but didn’t add the scoby until Tuesday. In all of my previous brews, it took about 2-3 days for the brew to show visible signs of a new scoby layer forming on the surface, so with this brew, I was hoping to see some signs of scoby formation by Thursday/Friday. I wasn’t sure if the it would take more or less time due to the size of this batch, so we’ll just wait and see.
Update / Friday – 3 days into fermentation
I pulled the cover off to check on progress on Friday, and to my surprise, there was no progress yet. Still just a batch of tea. No sight of the large scoby that I had added – in my prior experience, these usually surface after a day or two.
There was one small white spot on the surface and I couldn’t quite tell if it was a scoby forming or possibly a small spot of mold, so I scooped it out with a clean spoon. Seeing this was disappointing, but I decided to let it keep going to see what would happen.
The fermenter was staying a consistent 70-72ºF where it was sitting in my kitchen, so I decided to relocate it out into my garage where it’d be a little bit warmer – upper 70s.
Update / Sunday – 5 days into fermentation
Fermentation temperature rose a bit while in my garage – sticking around 78ºF. I think this was a good thing. I once again peaked into the fermenter and noticed a couple things:
- The scoby had risen to the surface. Or partially risen. My scoby was about 13 inches in diameter and in order to fit it into a tupperware that I was holding it in, I had to fold it in quarters – it seemed to have kept this shape.
- There were more areas around the surface that looked like the gelatinous layer that the scoby creates.
At this point, things are starting to look better, but I’m starting to wonder how long I might have to let this batch ferment.
If you were following this post, you likely realized that we stopped updating it. Our apologies, we went ahead and finished it in a second post which you can find here: Large Batch Kombucha – Flavoring and Kegging.
Connect With Us!
We want to know if our content is helpful and the best way is if you let us know. You can contact us on Facebook, Instagram, Twitter or through our Ket Outlet Contact Page. We look forward to connecting with you! Cheers!




So how did it turn out? How long did the brew time increase when making a large batch? Would you use the same quantity of tea next time? I need some closure! 😉
@sabrina_albertson:disqus it turned out great! I can’t believe we spaced on updating this post again. Going to see if we can find any pictures from the addition of fruit, kegging and tasting, but not sure we’ll have much luck there, however, we will get the post updated.
As far as the brew time, it really didn’t increase much due to the fact that we used large SCOBY and a good amount of starter liquid. If you wanted to go big and didn’t have a large scoby to start with, you might want to use multiple smaller scobies. The tea we used was great, we added a ton of fresh strawberries for flavoring, so any tea likely would have been fine, but overall, the final product was great!
Thanks for reading & commenting!
@sabrina_albertson:disqus we finally “finished” this post. Just added a part 2 that you can find here: https://blog.kegoutlet.com/large-batch-kombucha-flavoring-and-kegging-part-2/
Any reason to not ferment in the Cold Brew pot?
Main reason would be having to strain out all of the tea leaves after steeping, but if you brewed those in a bag, then you could simply pull the bag out.
Hi, I am interested to make around 40 liters of kombucha and wondered what the best way to make it? Will the small kombucha i have spread to the whole surface? How would you recommend that I bottle them up? Is there any way of doing it in a bucket or other way for second ferment with fruits? Thanks!
Hi @daniellaseltzer:disqus – we like this small kit/setup for brewing kombucha and fermenting it: https://www.kegoutlet.com/kombucha-brewing-fermenting-equipment-kit-3-gallon.html
After initial fermentation, you can fill the bottles using the ball valve on the fermenter.